
Novita Halaus x Poolaknits: Soave jumper
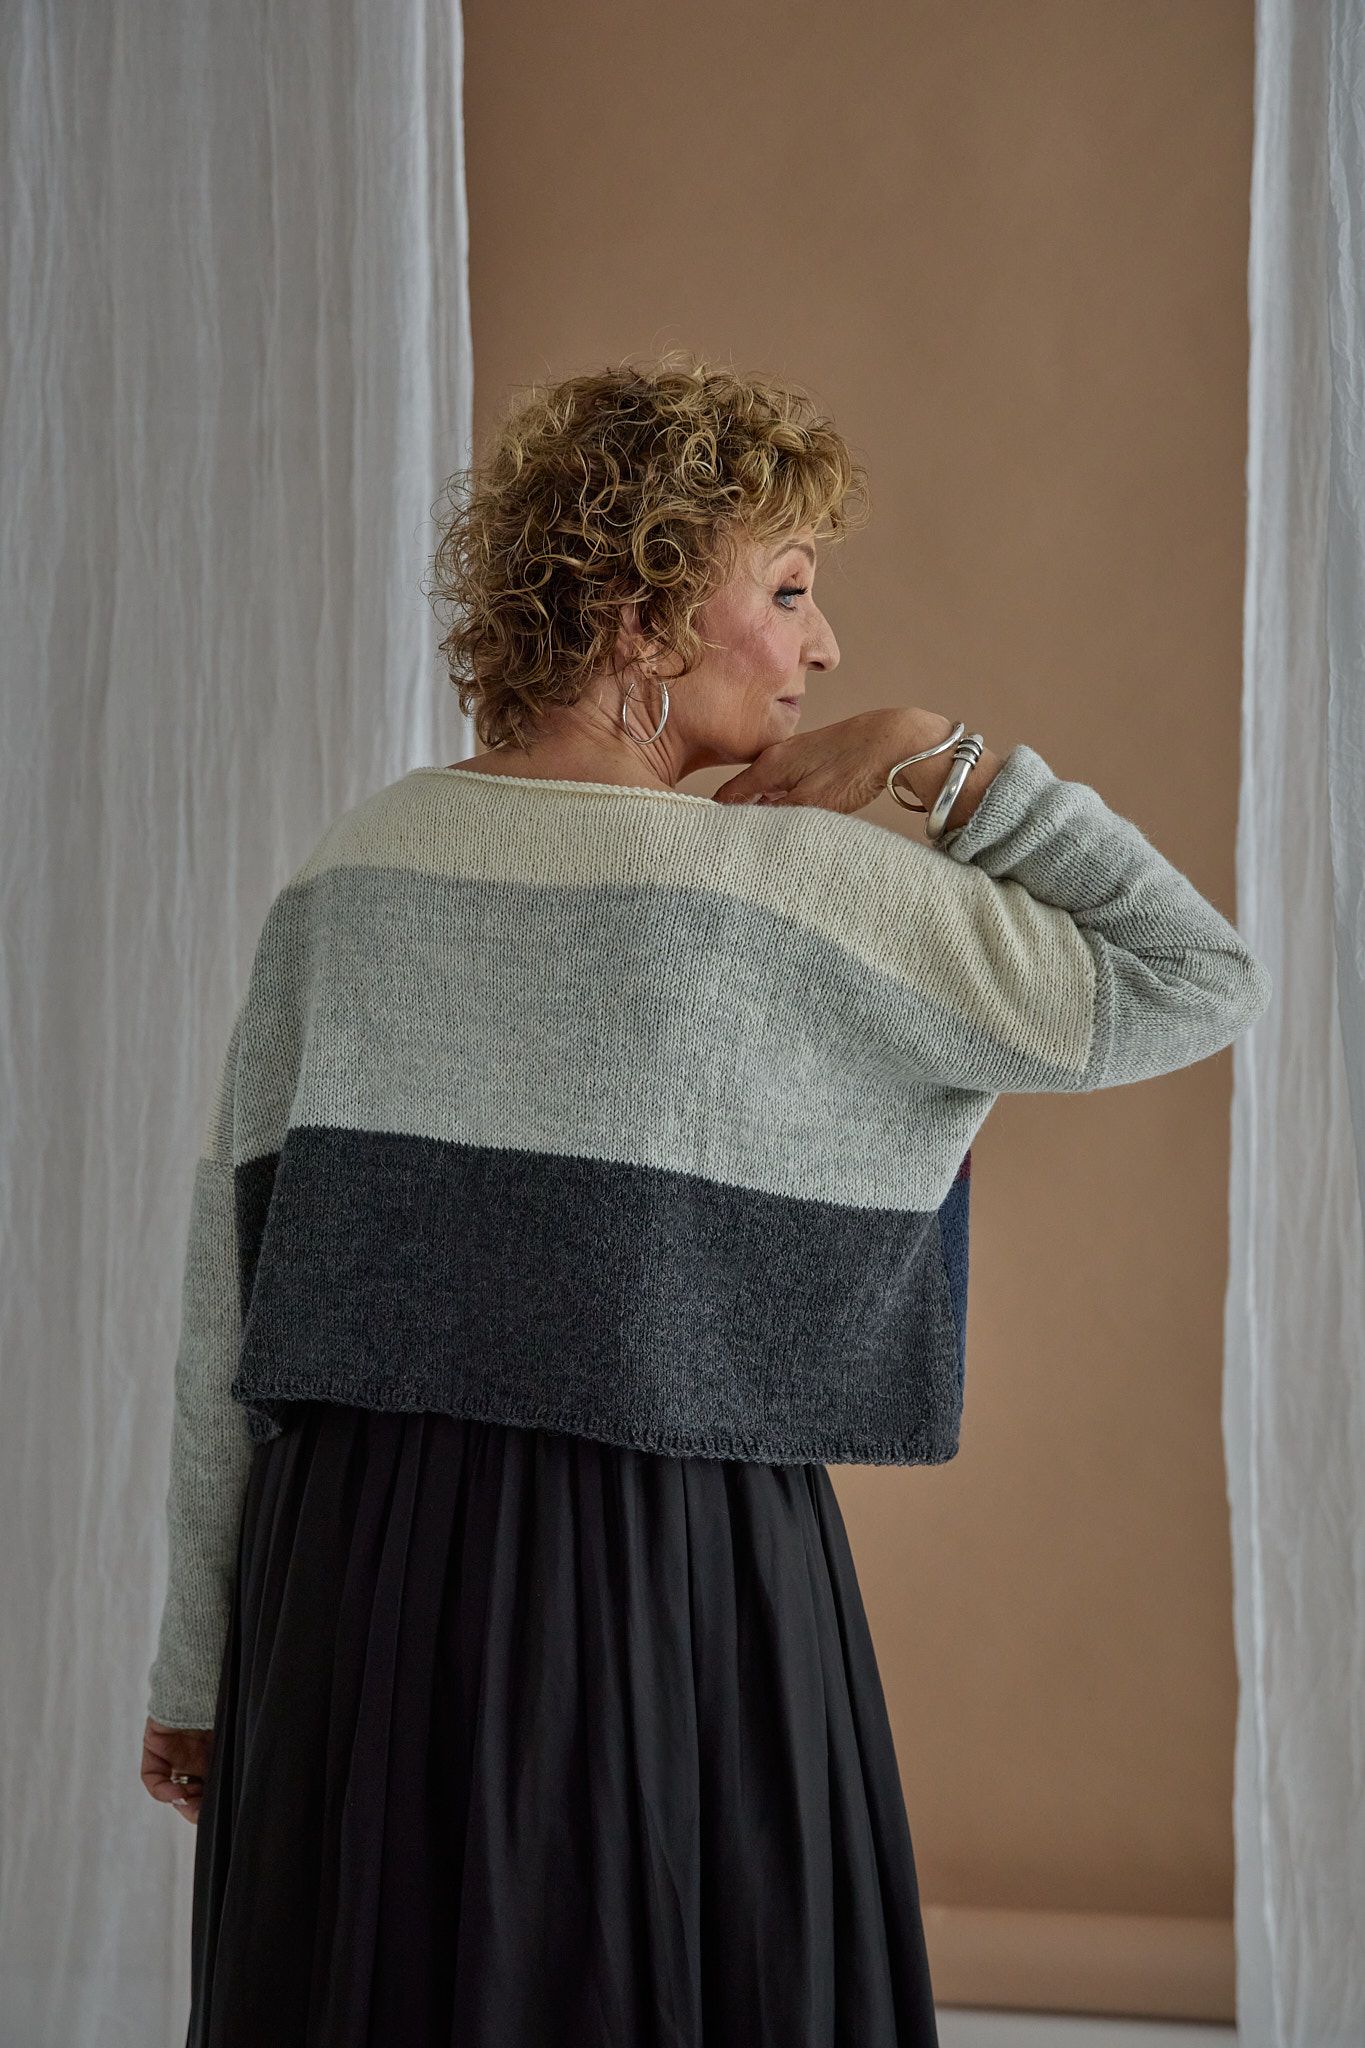
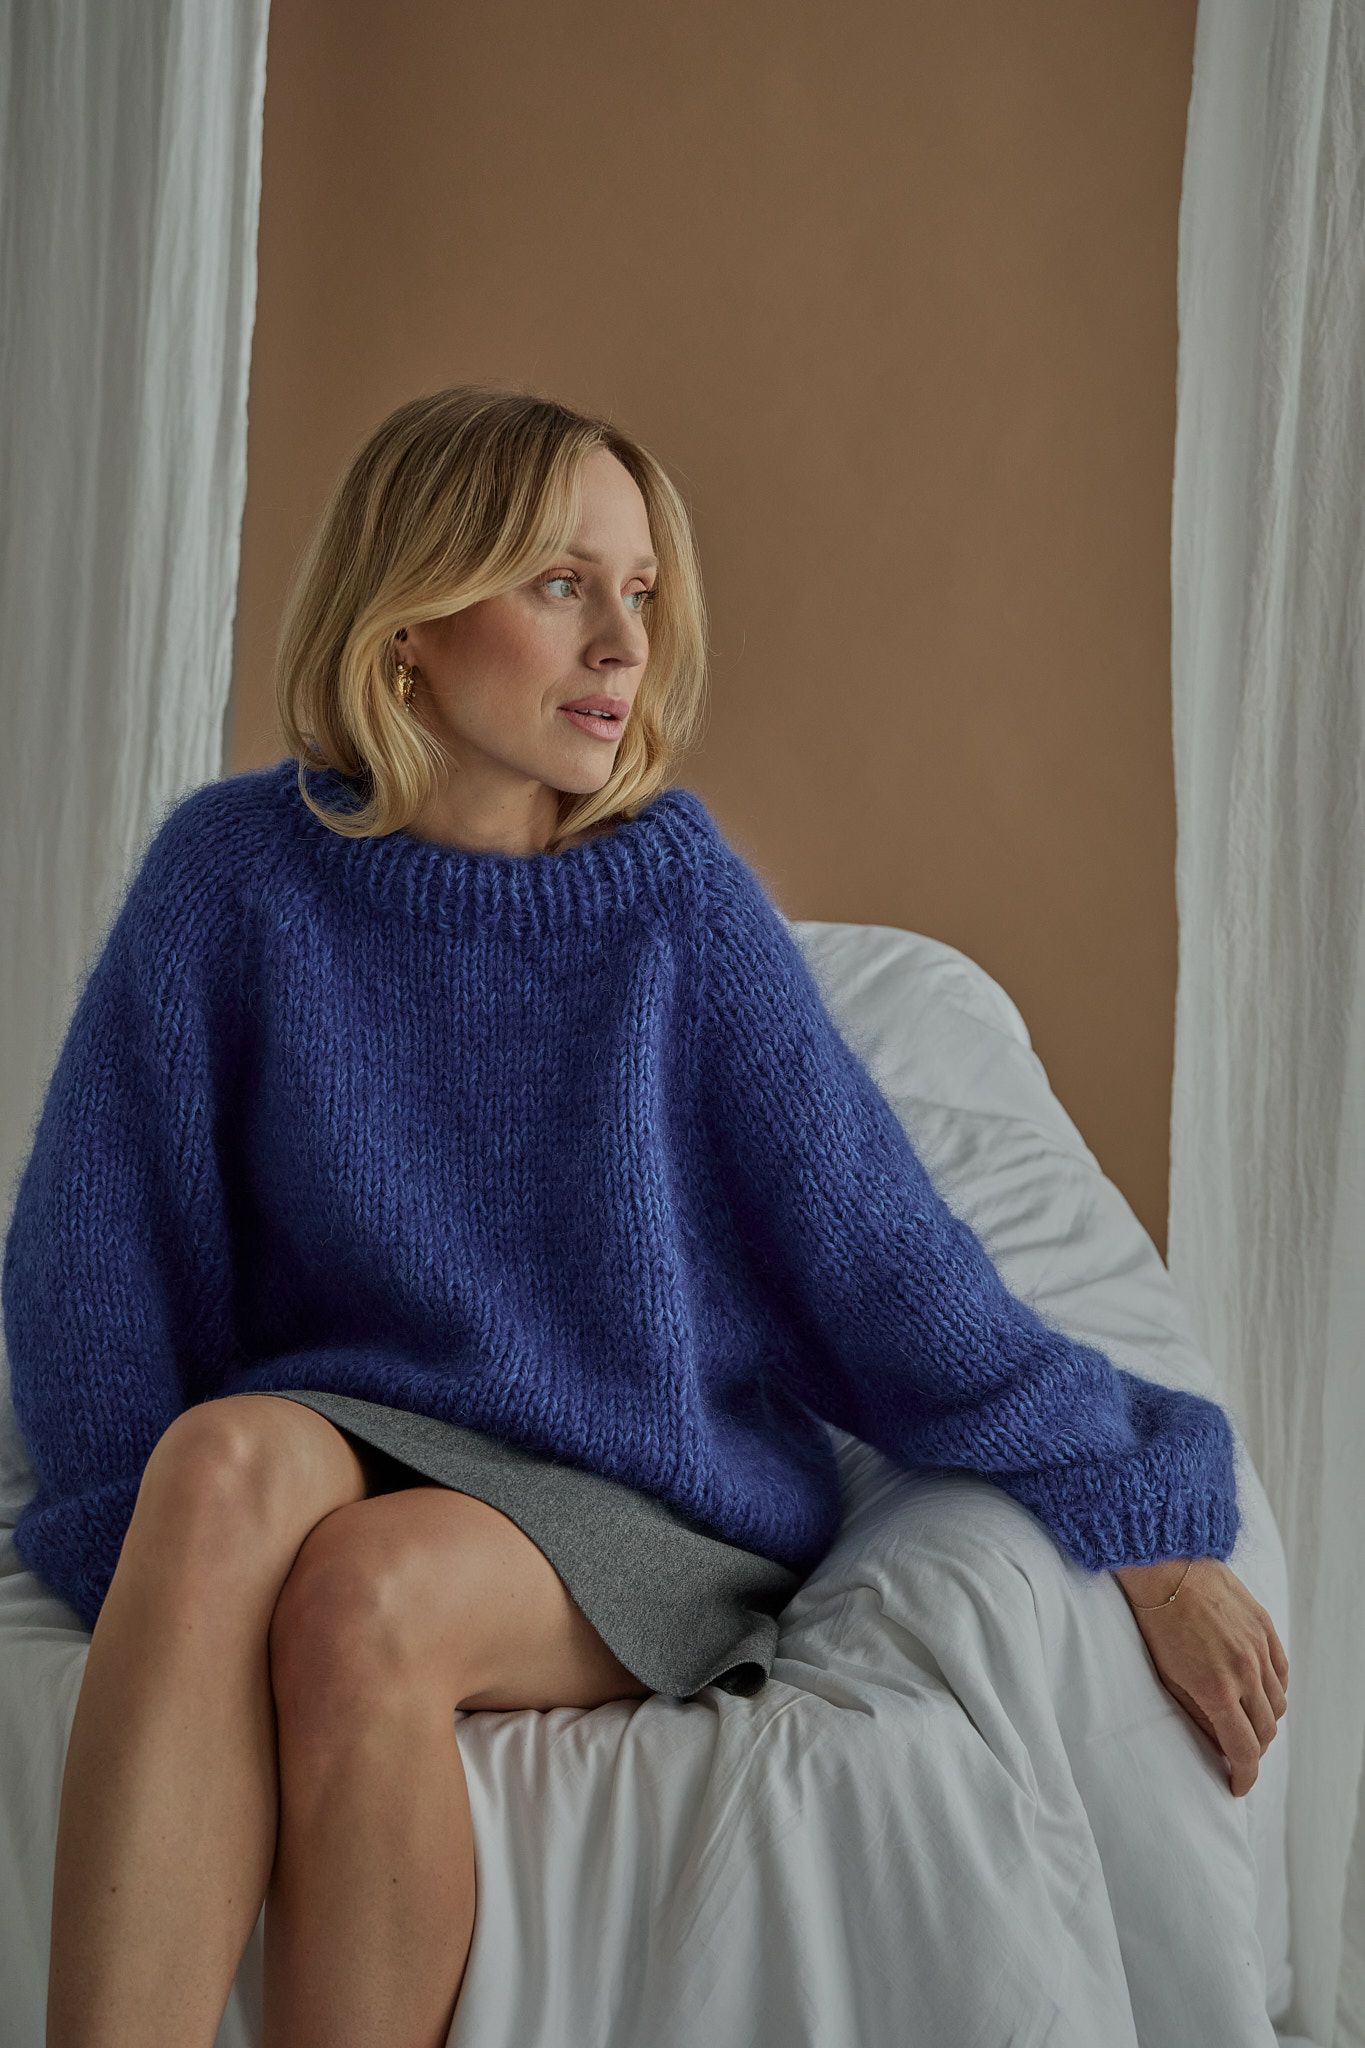
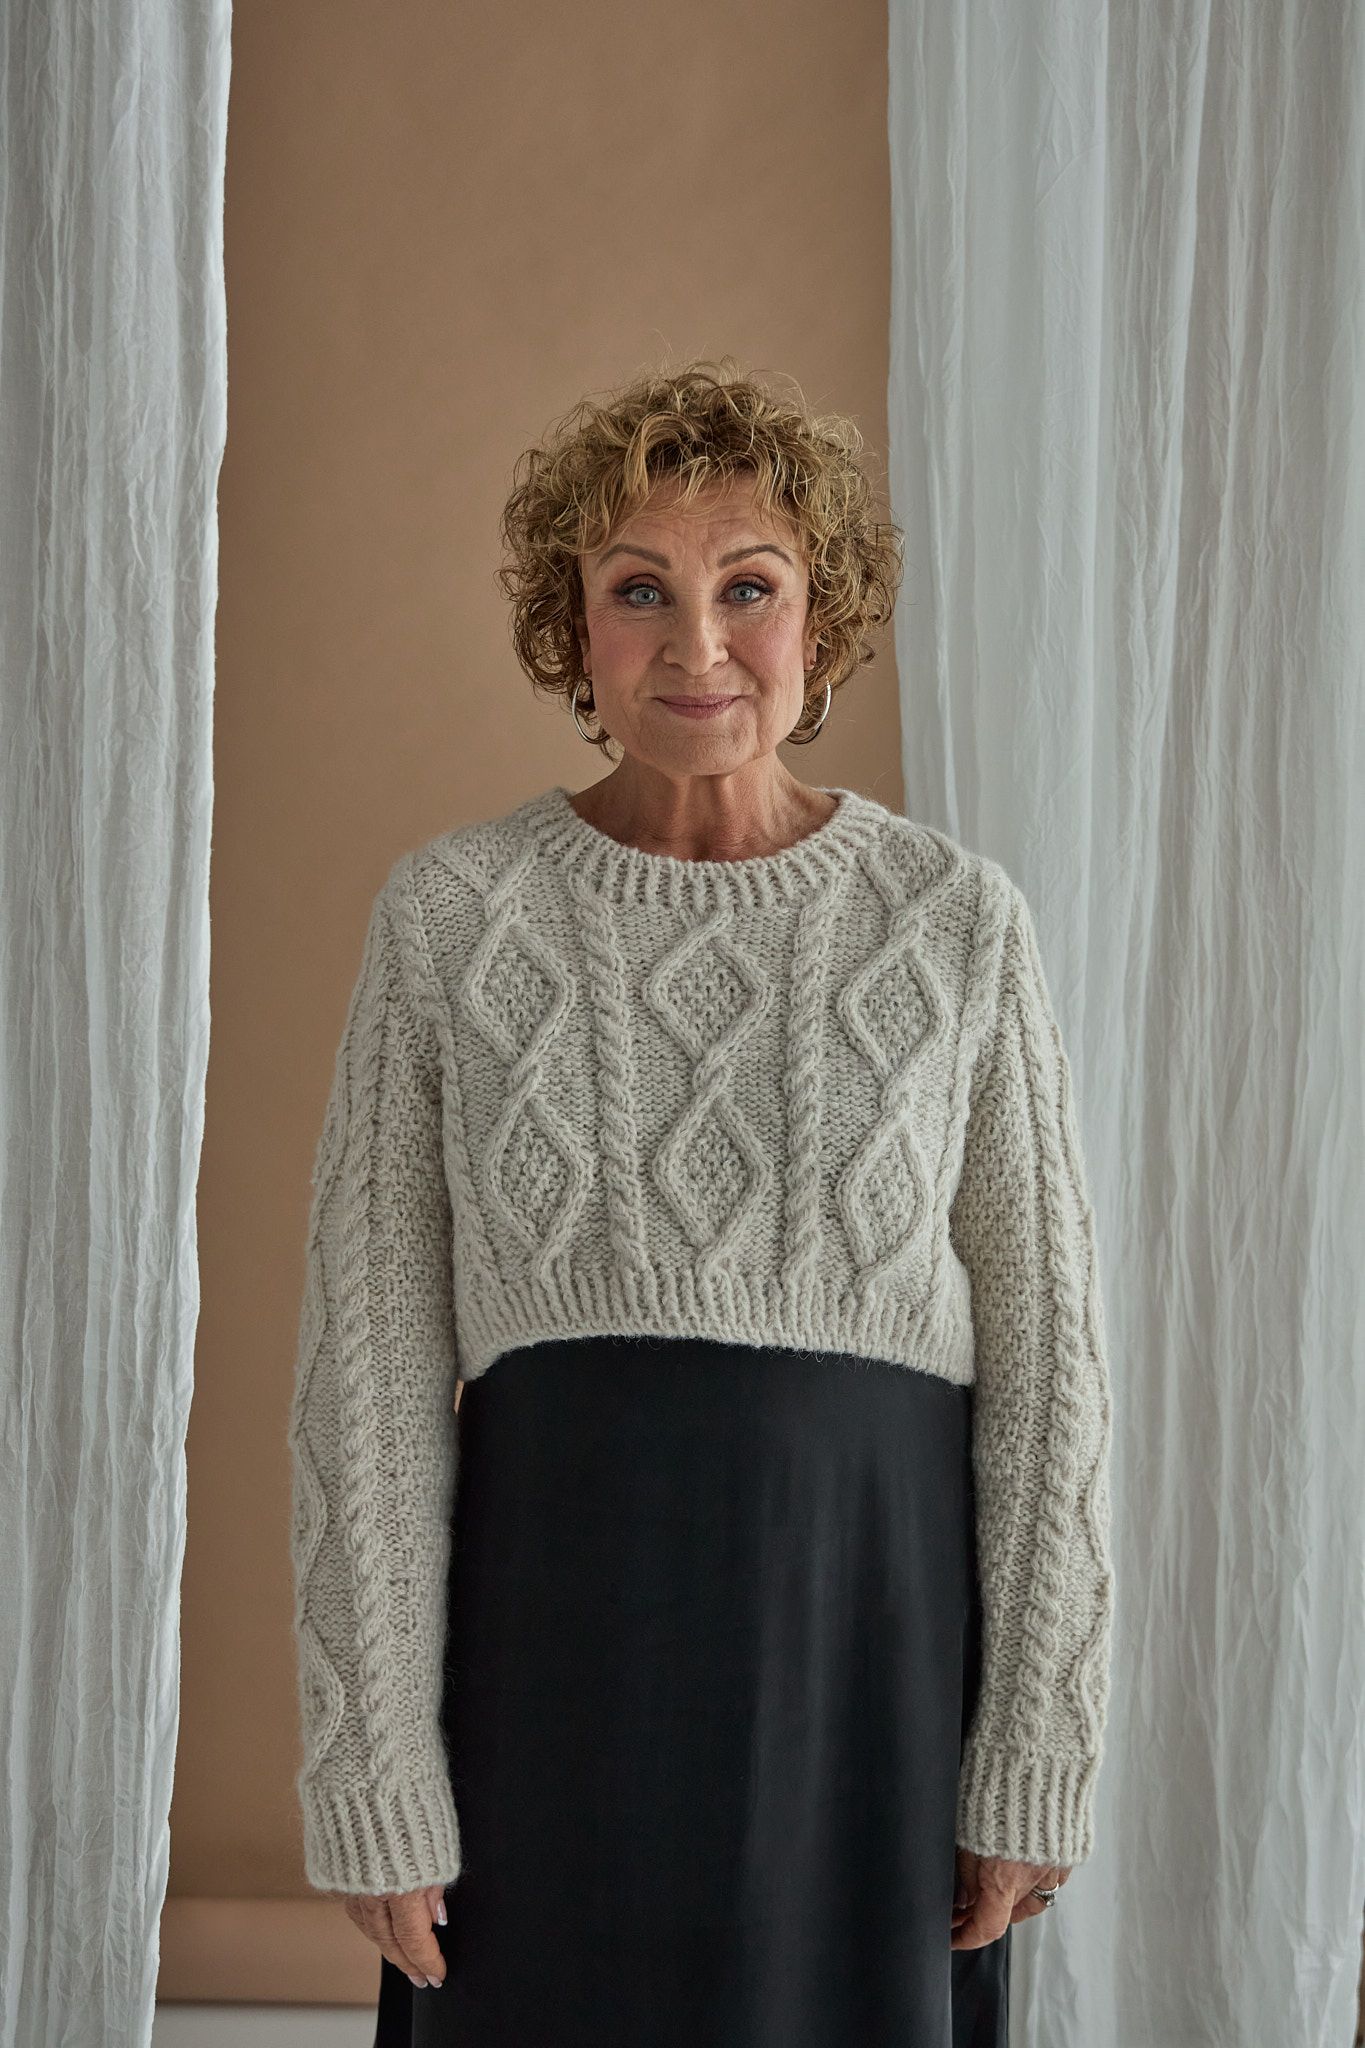
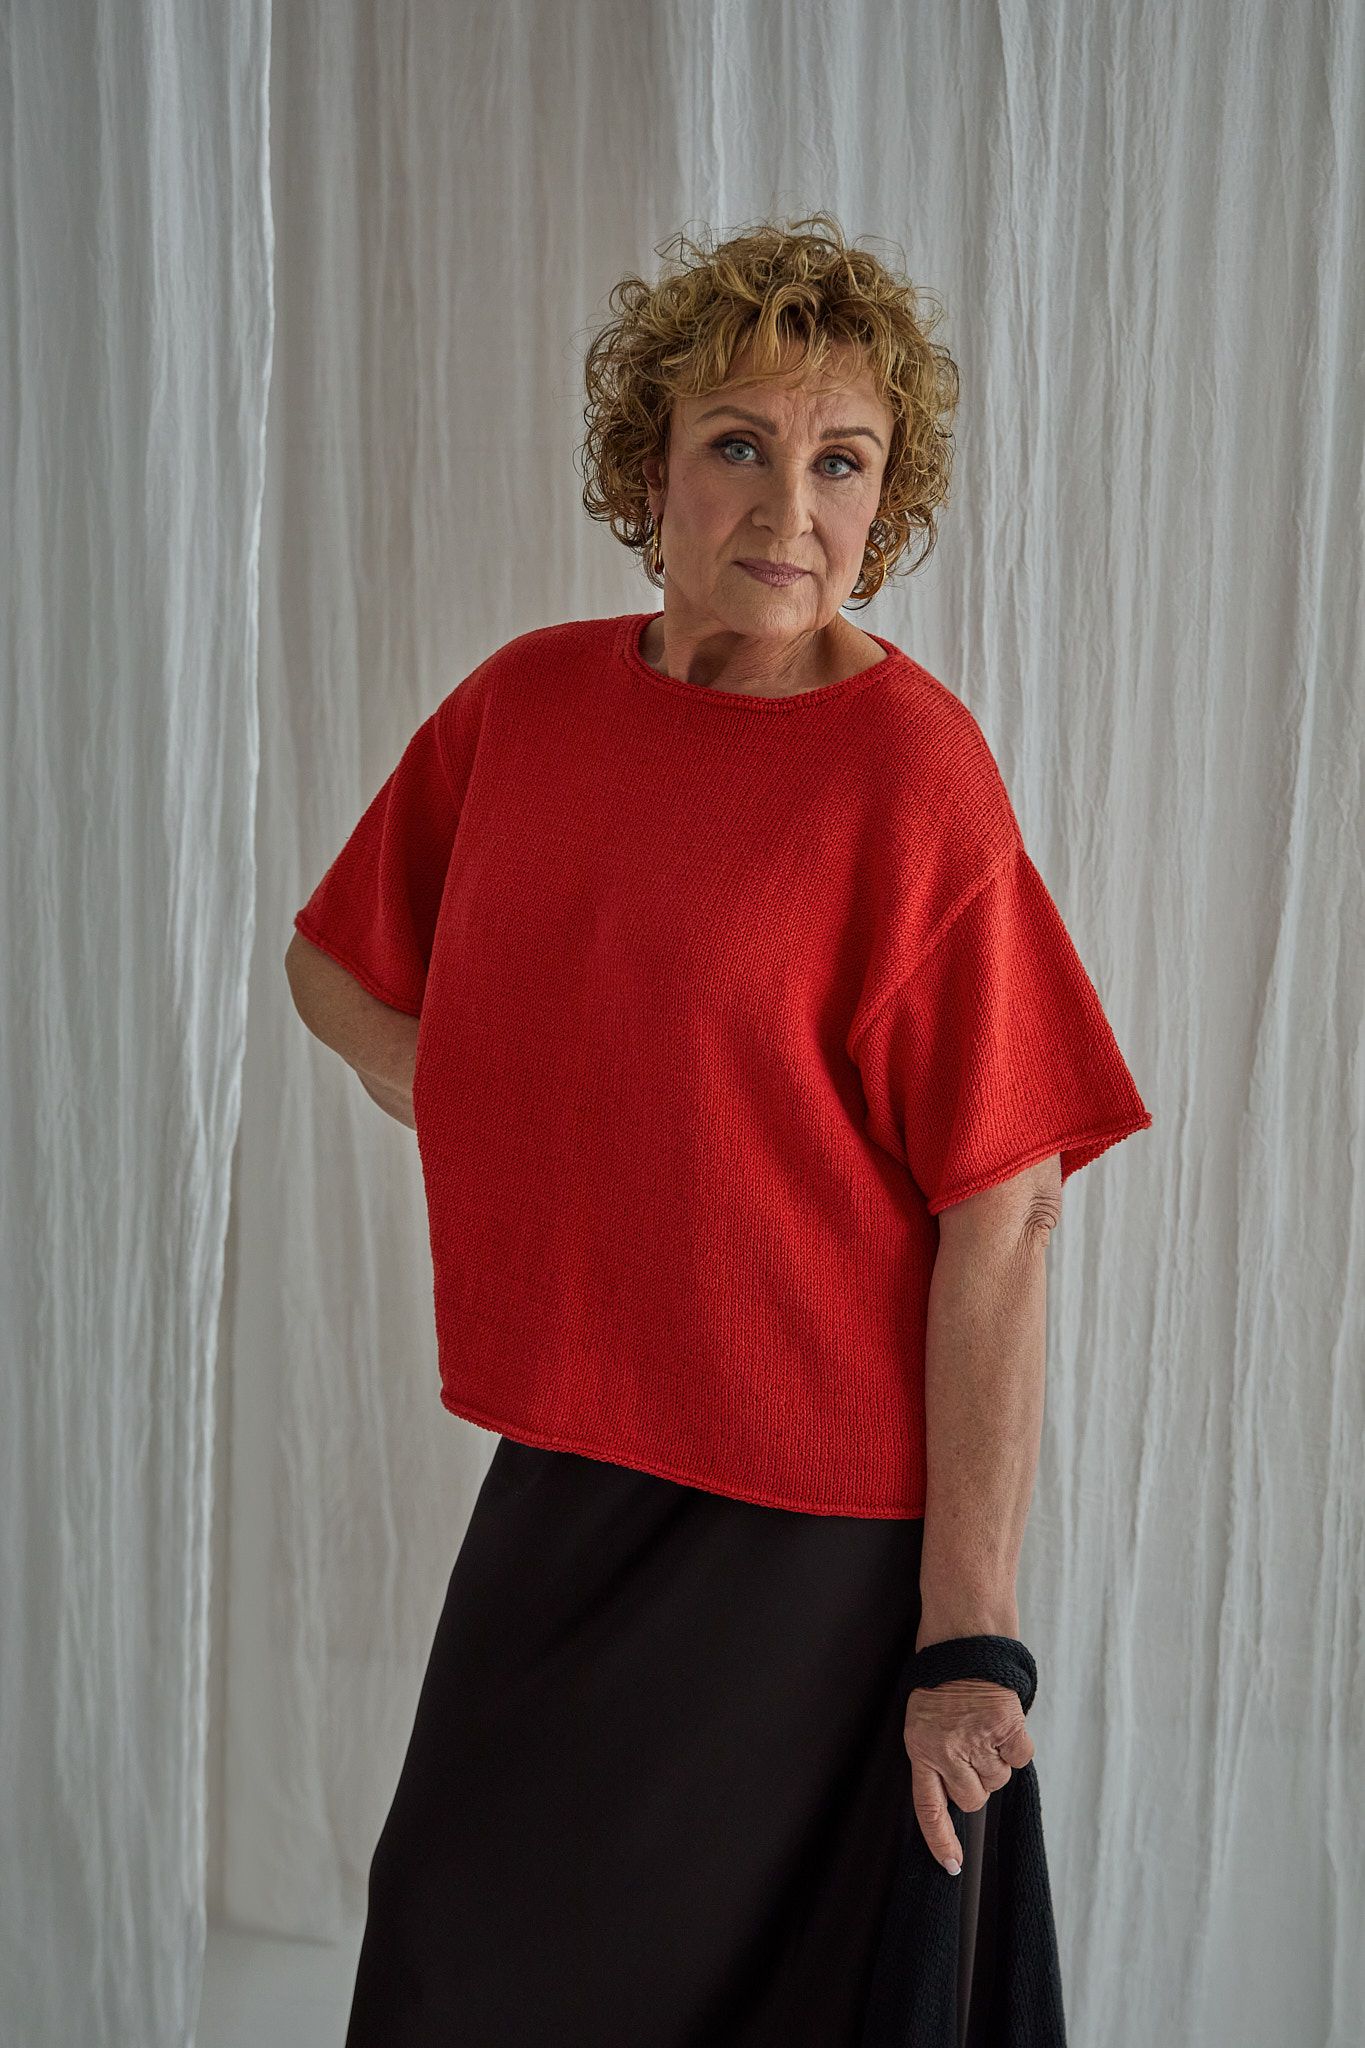
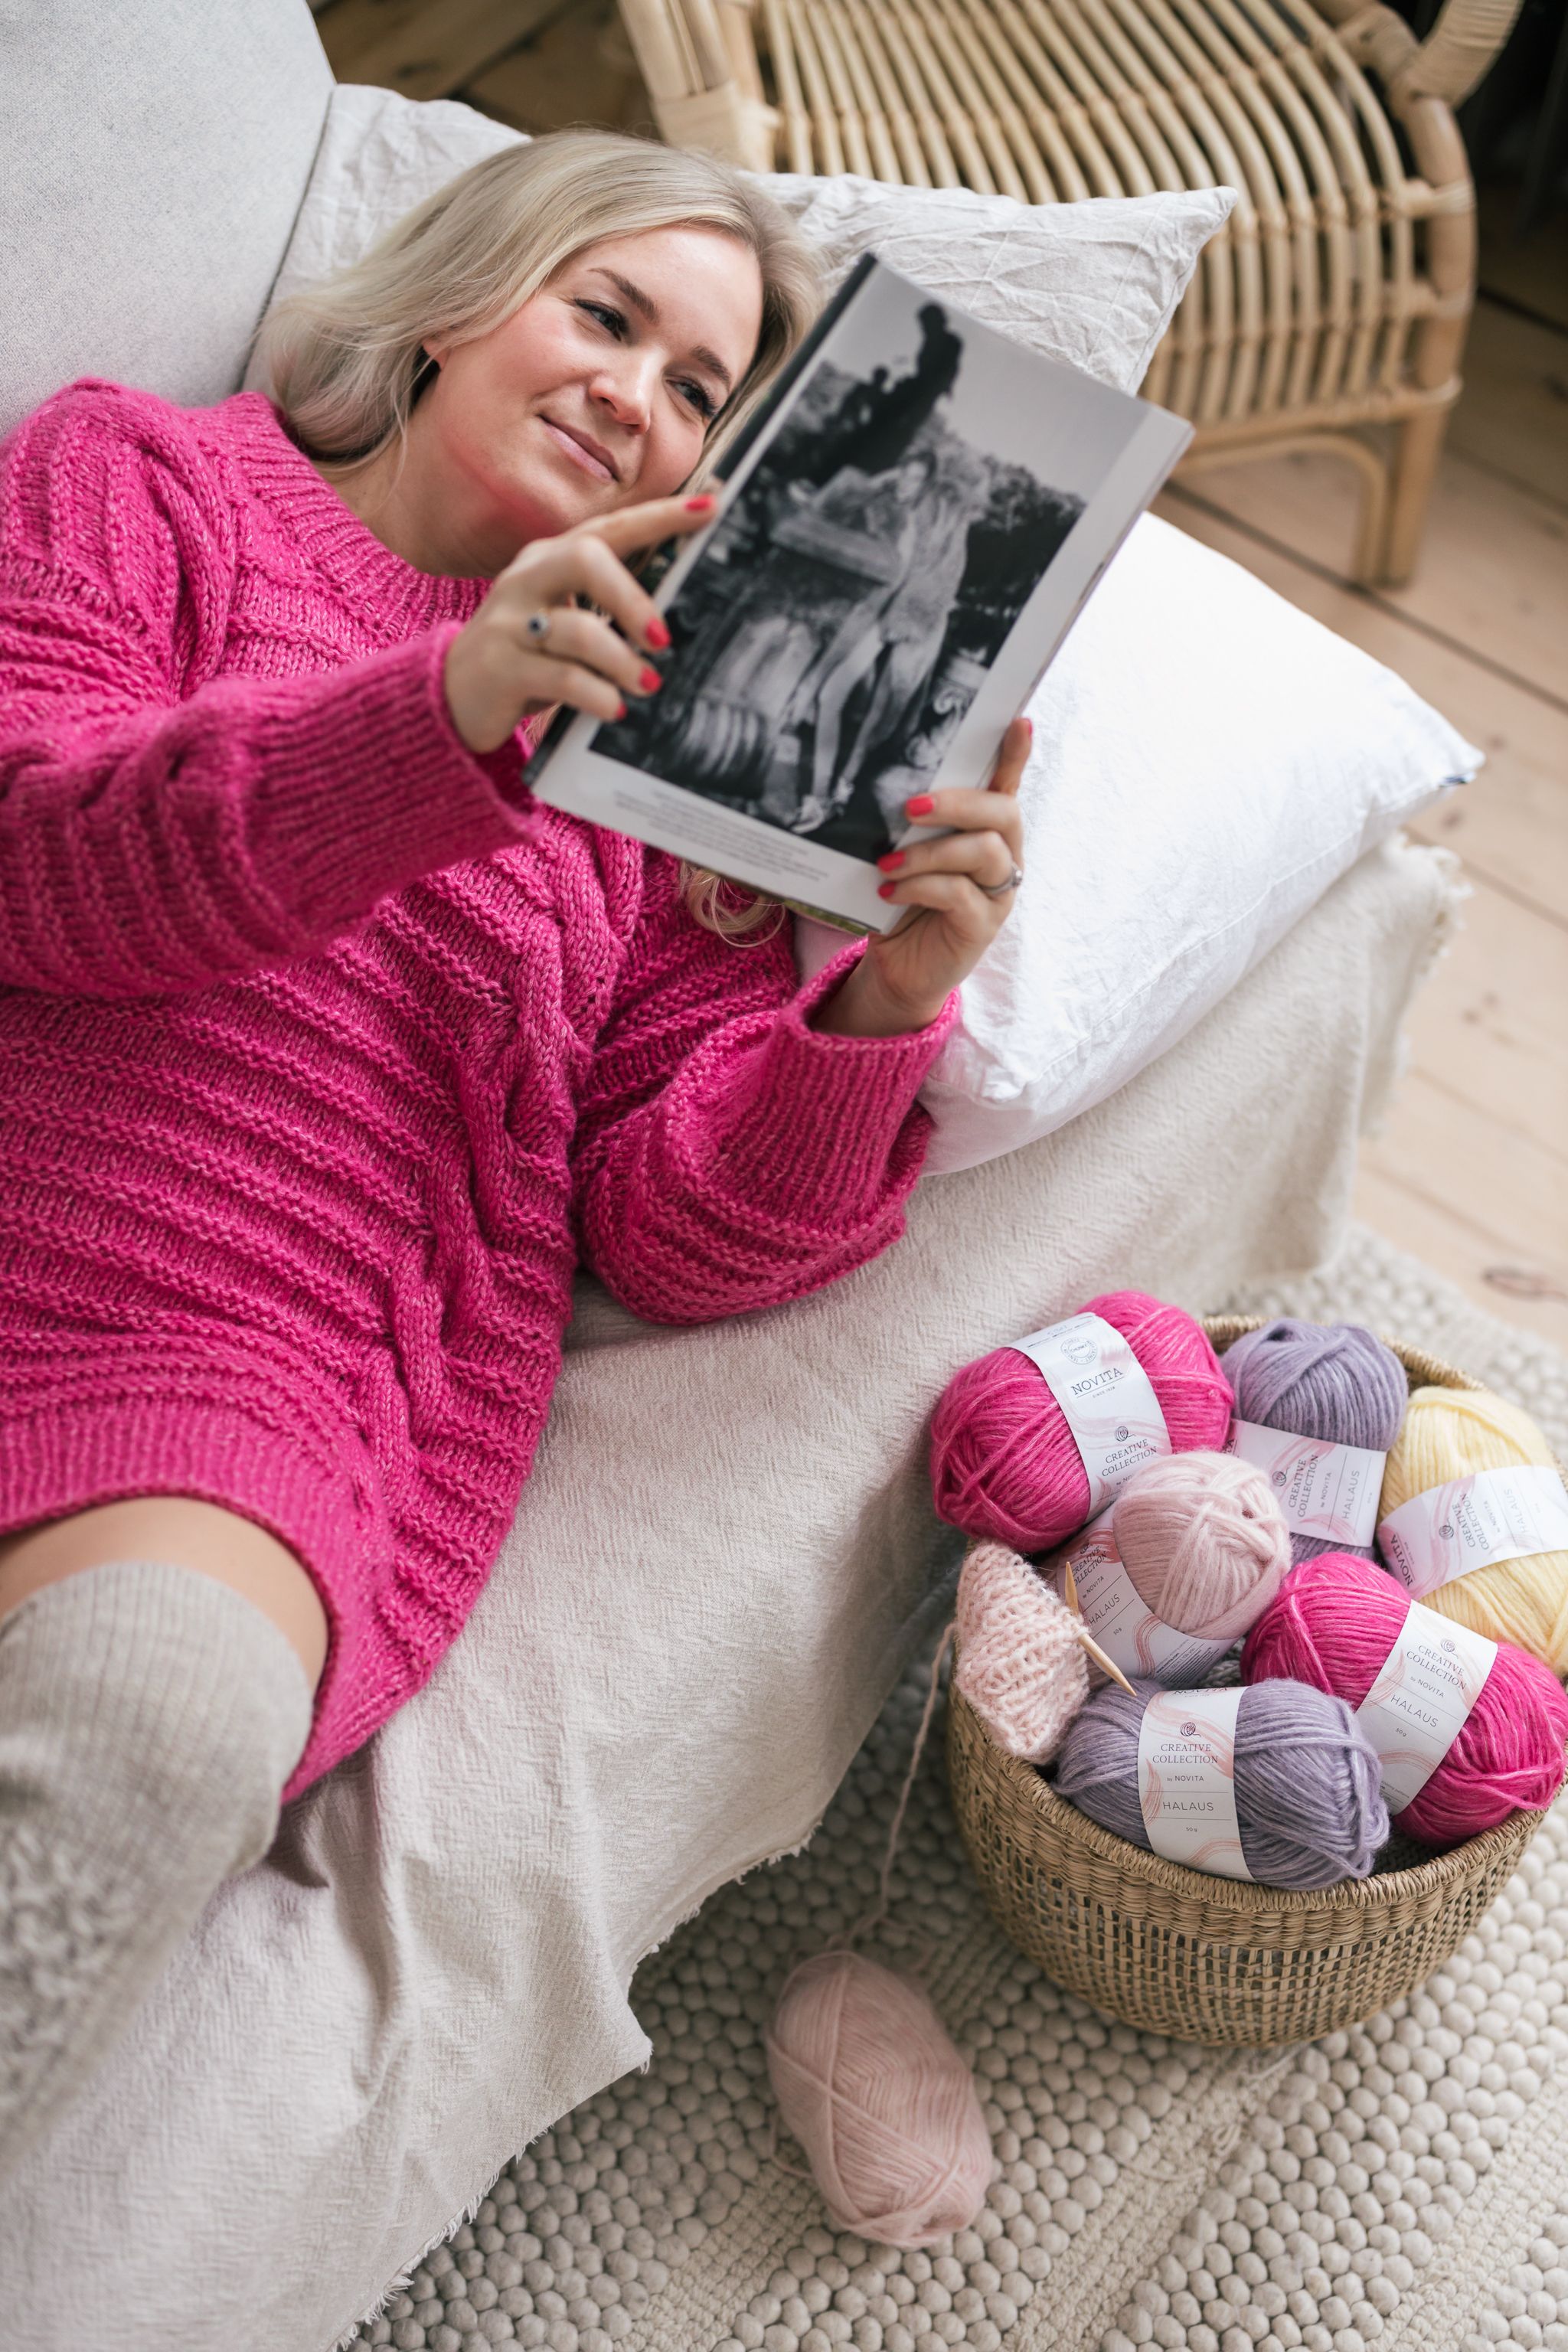
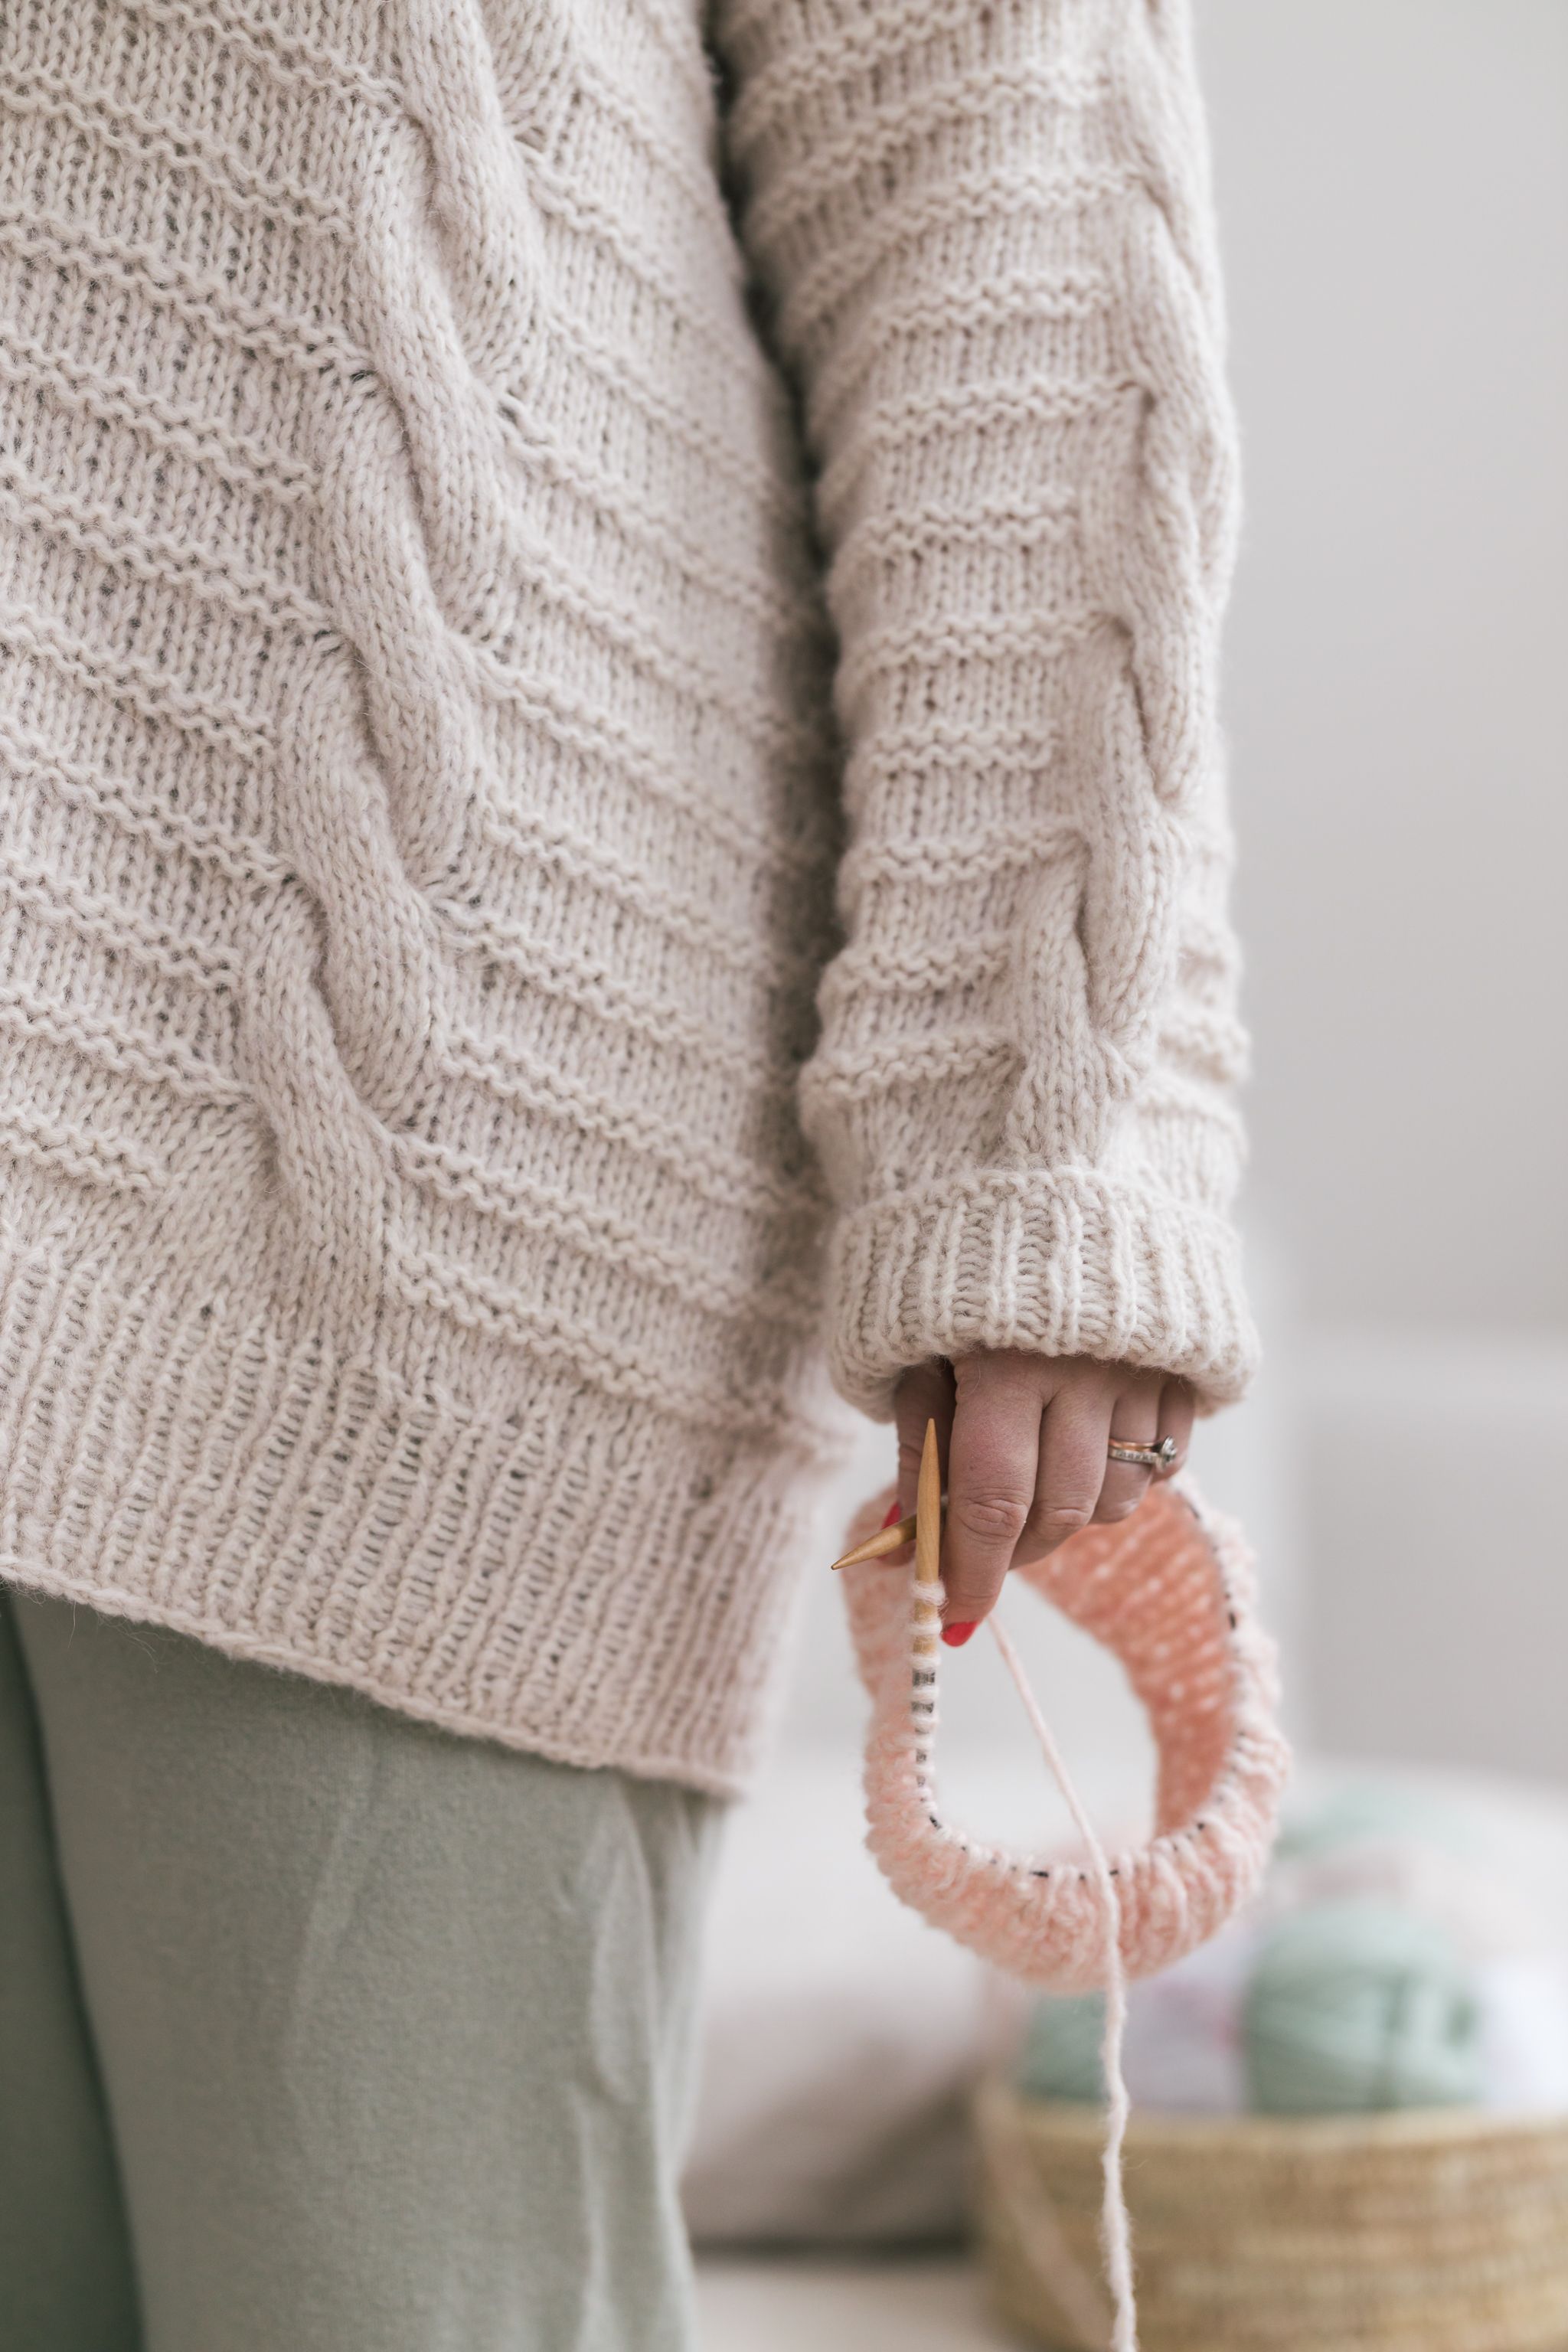
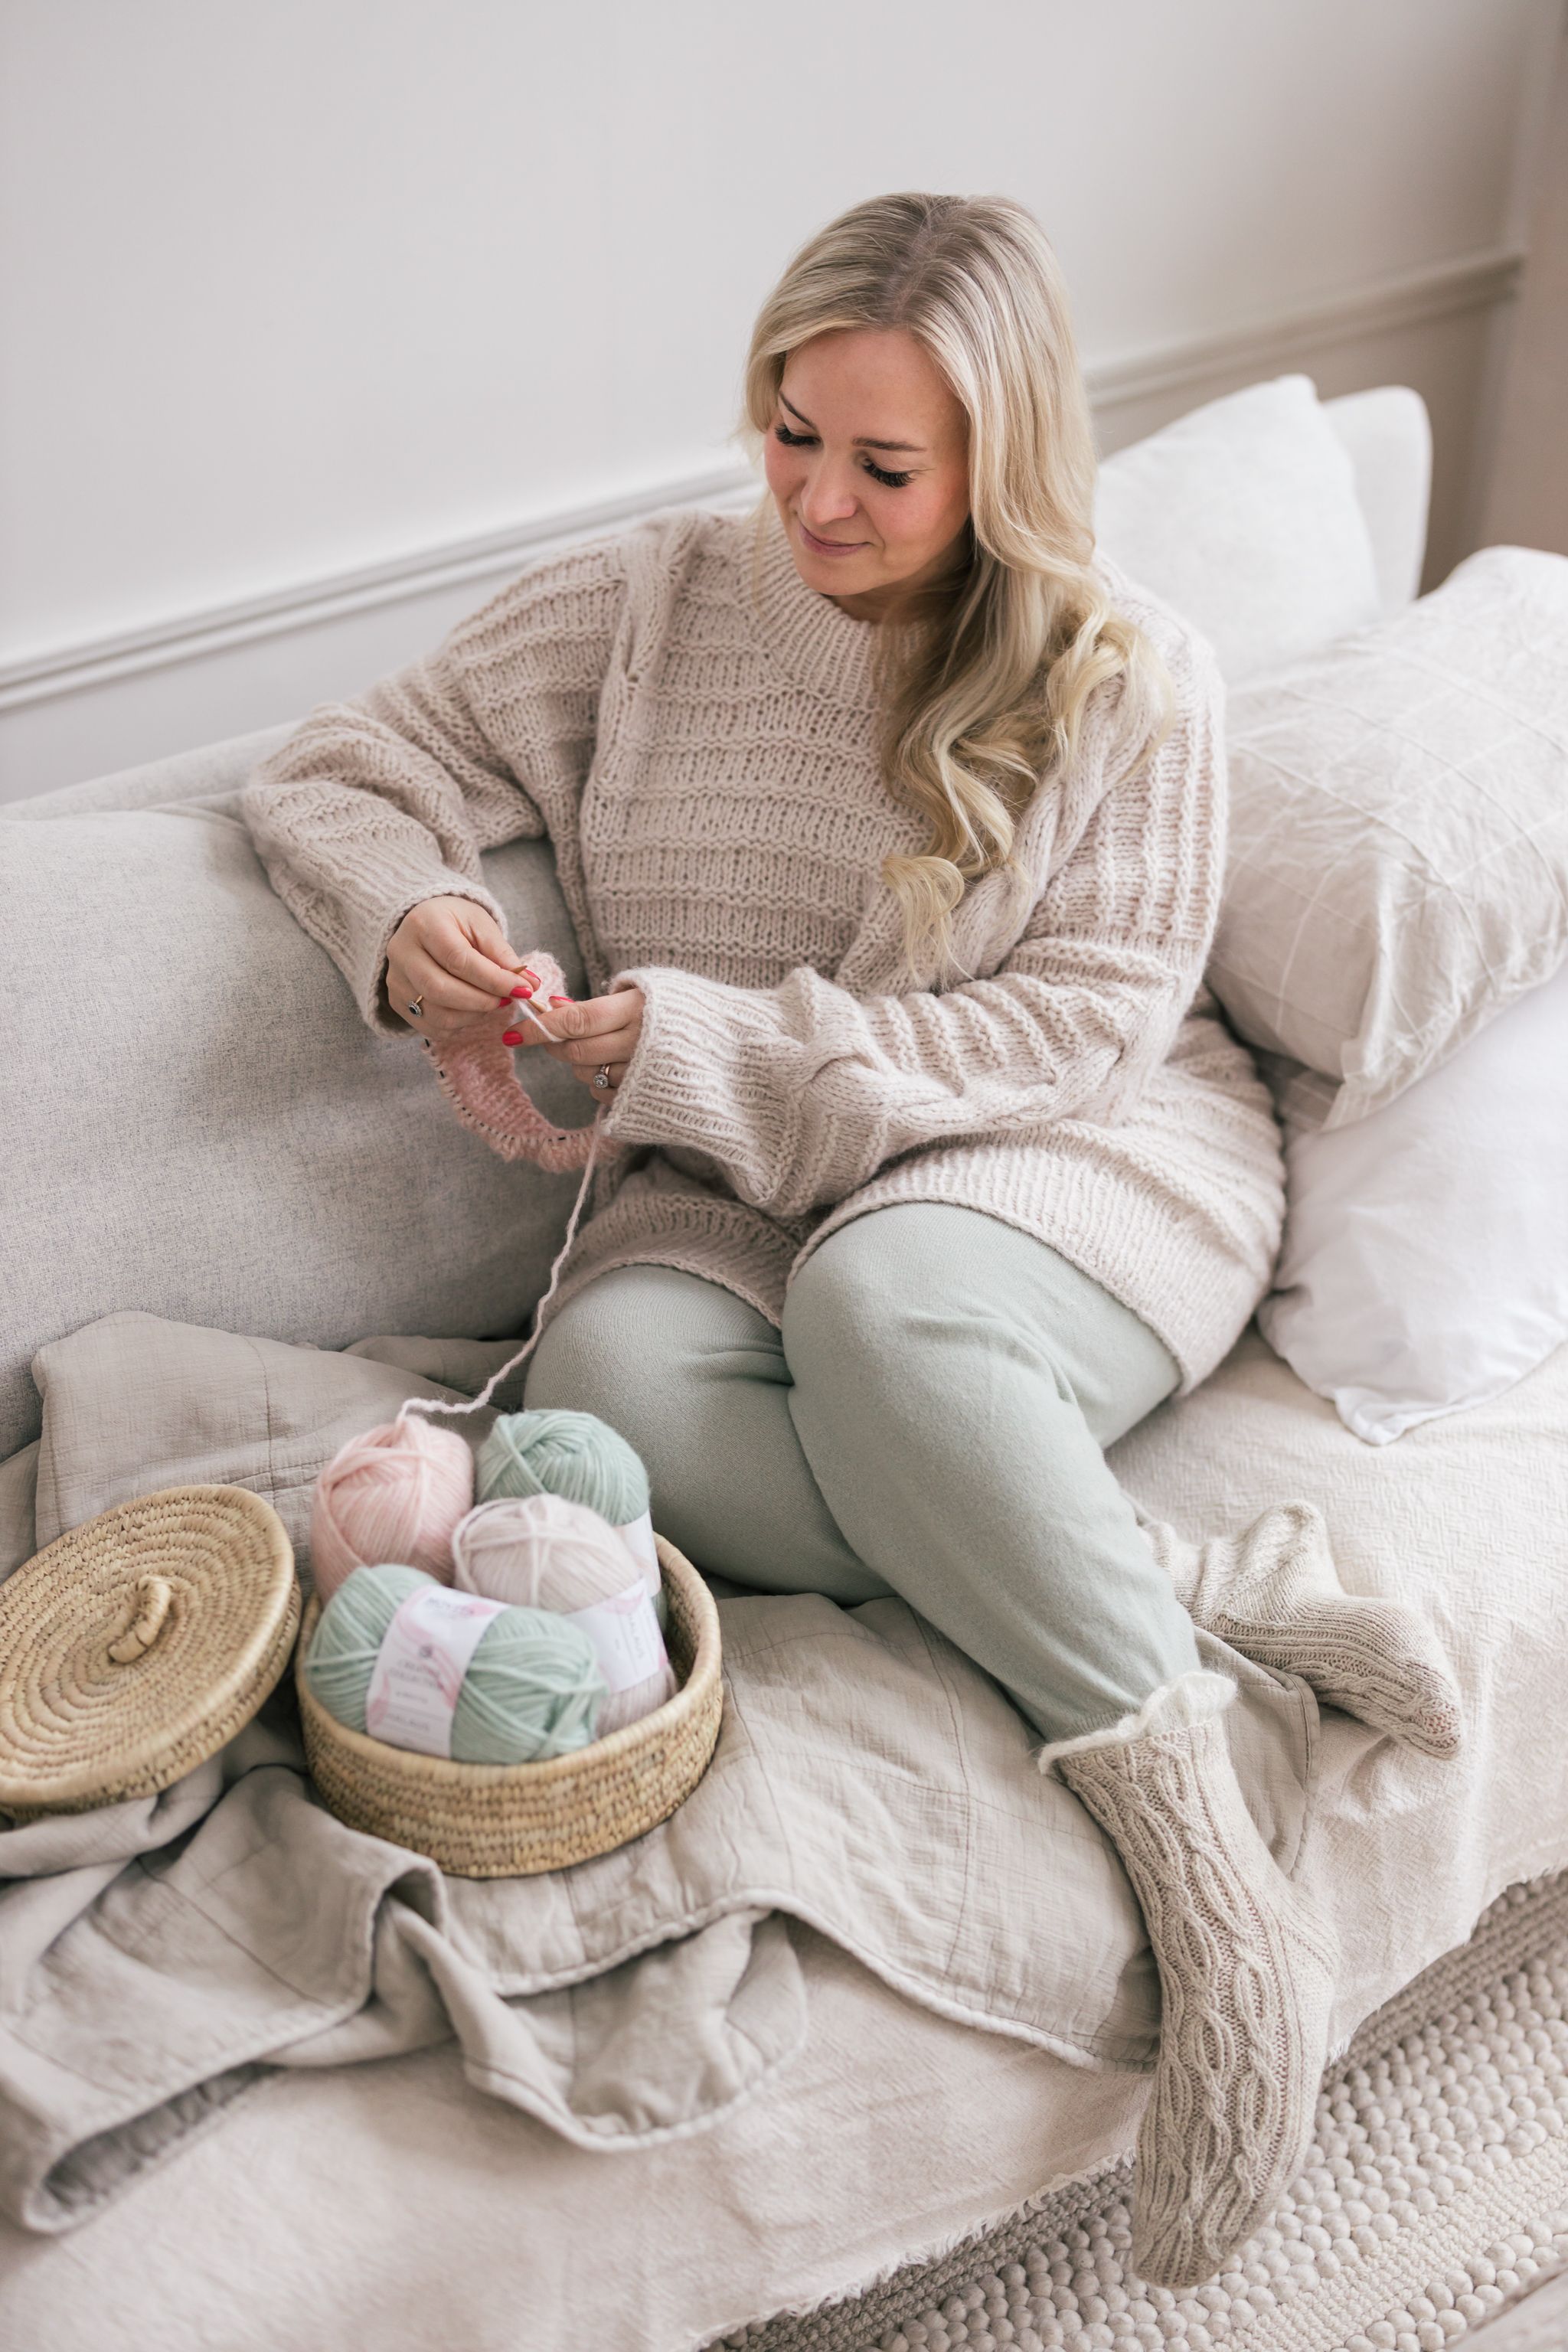
A trusted wardrobe staple - Designed by crafting influencer Paula Narkiniemi, the Soave sweater is great to wrap up in on weekdays and weekends alike. Knitted from lightweight Novita Halaus yarn, the sweater goes equally well with jeans and wool socks. The versatile sweater features an easy raised stitching and beautiful braids at the front, back and sleeves. Thanks to the chunky yarn, the slightly oversized sweater comes together quickly. See also the pattern for the matching Soave sweater!
Designer
Paula Narkiniemi
Size(s)
XS(S)M(L)XL(2XL)3XL(4XL)
Finished dimensions
circumference 90(103)117(130)143(157)173(187) cm
length 55(56)58(60)63(65)67(70) cm
knit sleeves to desired length
Yarn demand
Novita Halaus (0131) air or (5301) ihana 350(400)450(500)550(600)650) g
Needles and other supplies
Circular needles Novita (40 cm) 5 and 8 mm, (60 or 80 cm) 5 and 8 mm and for the sleeves double pointed needles Novita 5 and 8 mm or to meet gauge Accessories Stitch markers and darning needle
Finished dimensions
circumference 90(103)117(130)143(157)173(187) cm
length 55(56)58(60)63(65)67(70) cm
knit sleeves to desired length
Gauge swatchFlat stocking stitch: knit right side (RS) and purl wrong side (WS). Textured knit: as per diagram and instructions Cabling: as per diagram and instructions Stocking stitch in the round: knit all rows. Ribbing in the round: *k1, p1*, repeat *–*.
Knitting tension 12 sts and 22 rows with the larger needles = 10 cm
Please note This knit has been designed to have 15–30 cm of additional width for a relaxed fit. When choosing your size, please remember to add 15–30 cm to your chest measurement. If you prefer a closer fit, choose a size close to your actual measurement.You can also make the jumper shorter or longer to suit your preference but if you adjust the length, remember to check the yardage (total yarn needed).
Abbreviations used
M1R = right leaning increase (Make One Right): use your left needle to pick up the strand between the last stitch and the next stitch from back to front and knit into the front of this stitch.
M1L = left leaning increase (Make One Left): use your right needle to pick up the strand between the last stitch and the next stitch from back to front and knit into the back of this stitch.
M1RP = right leaning increase (Make One Right Purlwise): use your left needle to pick up the strand between the last stitch and the next stitch from back to front and purl into the front of this stitch.
M1LP = left leaning increase (Make One Left Purlwise): use your right needle to pick up the strand between the last stitch and the next stitch from back to front and purl into the back of this stitch.
About the Soave jumper
Please read the entire pattern carefully before starting. The Soave jumper is worked from the top down, starting with the back piece to the underarm. From the top of the back piece you then pick up stitches for the front piece, shaping the neckline with increases. Once the front is worked to the underarm, transfer the front and back pieces onto a circular needle and continue to work in the round to the desired length. The sleeves are picked up from existing stitches and worked in the round. For the neckline, pick up existing stitches to work in the round. The resulting neckband is folded over to the inside. The front and back pieces are decorated with an easy cable pattern and stripes created with purl and knit stitches.
Notes on the cabling and stripes
The jumper features two cables on the front and back pieces that start at the same point on the shoulder. The sleeves are also cabled. All the cables are knitted with ten stitches. The pattern will show you where to start the cable pattern (10 sts). It’s always a good idea to use a stitch marker to mark the spot. The cable is contrasted with a textured knit.
Back piece
Cast on 50(58)66(74)82(90)98(106) sts using 8 mm (60/80 cm) circular needles. Purl one round on the WS and add two stitch markers, one on the first stitch (not the needle) and another when 16(18)20(24)28(32)36(40) sts remain from the end of the round. The stitch marker denotes the edge of the neckline on the left shoulder (where you will later pick up stitches for the front piece).
Add 4 further stitches markers on the needle at 2(4)6(10)14(18)22(26) sts, 12(14)16(20)24(28)32(36) sts, 38(44)50(54)58(62)66(70) sts and 48(54)60(64)68(72)76(80) sts. You have now marked where the two cables will be, at 10 st intervals.
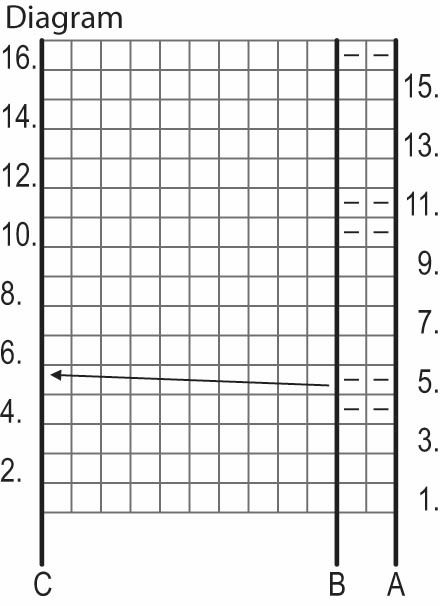
Now work the textured and cable knit flat, starting on Row 1 of the diagram: repeat A–B 2(4)6(10)14(18)22(26) sts, work B–C (10 sts = cable) and repeat A–B 2(4)6(10)14(18)22(26) sts. Work Rows 2 to 4 as per diagram and repeat Rows 5 to 16.
When your work measures 16(16)17(18)20(21)22(24) cm, break yarn and place the stitches on hold on a needle, stitch wire or some scrap yarn. Make a note of this row for your front piece.
Front piece, right shoulder
Place the back piece on a flat surface so that the starting edge is furthest away from you. Using 8 mm circular needles, pick up 16(18)20(24)28(32)36(40) sts from the right shoulder of the back piece. Start from the right and pick up 1 out of 1 sts. Turn your work and work one round in purl WS.
Start the textured and cable knit on the next RS round at Round 1 of the diagram. This is the same as for the back piece. Work in textured knit on either side of the cables. Work Rounds 2–4 as per the diagram. Now repeat Rounds 5–16.
Please note When you’ve finished Round 6, begin to work the neckline increases.
Increase row: work RS until 1 st remains, now M1R or M1RP as per diagram and knit 1 st. Repeat the increase row on RS for a total of 8(9)10(10)10(10)10(10) rounds. Work one more WS row. The shoulder will now have 24(27)30(34)38(42)46(50) sts. Break yarn and place the stitches on hold on a needle, stitch wire or some scrap yarn.
Front piece, left shoulder
Using 8 mm circular needles, pick up and knit 16(18)20(24)28(32)36(40) sts from the left shoulder of the back piece. Start knitting the increases from the neckline end whereyou placed the stitch marker and work towards the sleeve. Turn your work and purl one row WS.
Start the textured and cable knit on the next RS round at Round 1 of the diagram. This is the same as for the back piece. Work in textured knit on either side of the cables. Work Rounds 1 to 4. Now repeat Rounds 5 to 16.
Please note When you’ve finished Round 6, begin to work the neckline increases.
Increase row: knit 1 st on RS, M1R or M1RP as per diagram, knit to end of row. Repeat the increase row on RS as above for a total of 8(9)10(10)10(10)10(10) rows. Work one more WS row. The shoulder will now have 24(27)30(34)38(42)46(50) sts. Break yarn and place the stitches on hold on a needle, stitch wire or some scrap yarn.
Bringing the front piece together
You should now bring the front pieces together off the neckline. Work 24(27)30(34)38(42)46(50) sts on right shoulder RS, add 2(4)6(6)6(6)6(6) sts and continue to work the 24(27)30(34)38(42)46(50) sts on the left shoulder. The front piece now has 50(58)66(74)82(90)98(106) sts.
Top part of front piece to the underarm
Continue to work the front piece flat (back and forth) until it measures 16(16)17(18)20(21)22(24) cm and the cable pattern matches the back piece.
Bringing the body together
You will now knit the back and front pieces onto the same circular needle. Work the front piece (RS) to the left underarm, add 4(4)4(4)4(4)6(6) sts at underarm and bring together with the back piece. Work the back piece (RS) and add 4(4)4(4)4(4)6(6) sts at underarm as before. Insert stitch marker to hold your place and close to the round. There are now 108(124)140(156)172(188)208(224) sts on the needle.
Continue to work in the round until the body measures approx. 31(32)33(34)35(36)37(38) cm from the underarm. Alternatively, work to desired length, allowing for an approx. 8 cm hem. End the cable pattern here.
Now decrease16 stitches evenly on the next row by knitting 2 together (k2tog).
Change to 5 mm circular needles and work in rib from the next round. Continue in rib for a total of approx.8 cm and cast off using your preferred method.
Sleeves
Start under the armhole and pick up 50(52)54(56)60(64)68(74) sts using 8 mm 40 cm circular needles. Place one stitch marker at the start and another in the middle of the shoulder seam. The cable on the sleeve sits in the middle. Start the cable pattern 5 sts before the shoulder seam and finish 5 sts after the shoulder seam (it’s a good idea to mark the 10 sts using stitch markers). Otherwise continue to alternate between knit and purl rows as per the diagram as in the body.
Start off the sleeve in the round but start the pattern from Row 1 of the diagram. Work Rows 2–4 as per diagram and continue to repeat Rows 5–16.
When the sleeve measures approx. 8 cm, work decreases on either side of the underarm marker as follows: work the row until 2 sts remain before the stitch marker indicating the beginning of the round, k2tog, move the stitch marker and k2tog after the marker. You will decrease by 2 sts each row. Repeat the decreases as above approx. every 4 cm, 2(2)2(3)3(3)3(4) times.There are now 46(48)50(50)54(58)62(66) sts on the needle.
Work the pattern until you have achieved a length of 30–40 cm or as desired. Please allow for an approx. 10 cm cuff. It’s a good idea to try the sleeve on for size as you go along. Change to 5 mm needles and start to decrease 8 sts at regular intervals by k2tog. The sleeve has 38(40)42(42)46(50)54(58) sts.
Start working in rib from the next row and continue for10 cm. Cast off using your preferred method.
Repeat to make the other sleeve.
Neckline
Pick up 80–90 sts at regular intervals along the neckline using 5 mm 60 cm circular needles. Use a stitch marker to mark the start and work in rib in the round. Continue to work in rib for approx.12 cm. Cast off loosely. Fold the neckband over to the inside and stitch loosely into the starting edge with a darning needle using the yarn used for the project. Keep your stitches loose to avoid making the opening too tight.
Finishing
Weave in any loose ends and steam gently. And now you’re done!
Novita Halaus x Poolaknits: Soave jumper
Size(s)
XS(S)M(L)XL(2XL)3XL(4XL)
Finished dimensions
circumference 90(103)117(130)143(157)173(187) cm
length 55(56)58(60)63(65)67(70) cm
knit sleeves to desired length
Yarn demand
Novita Halaus (0131) air or (5301) ihana 350(400)450(500)550(600)650) g
Needles and other supplies
Circular needles Novita (40 cm) 5 and 8 mm, (60 or 80 cm) 5 and 8 mm and for the sleeves double pointed needles Novita 5 and 8 mm or to meet gauge Accessories Stitch markers and darning needle
Gauge swatchFlat stocking stitch: knit right side (RS) and purl wrong side (WS). Textured knit: as per diagram and instructions Cabling: as per diagram and instructions Stocking stitch in the round: knit all rows. Ribbing in the round: *k1, p1*, repeat *–*.
Knitting tension 12 sts and 22 rows with the larger needles = 10 cm
Please note This knit has been designed to have 15–30 cm of additional width for a relaxed fit. When choosing your size, please remember to add 15–30 cm to your chest measurement. If you prefer a closer fit, choose a size close to your actual measurement.You can also make the jumper shorter or longer to suit your preference but if you adjust the length, remember to check the yardage (total yarn needed).
Abbreviations used
M1R = right leaning increase (Make One Right): use your left needle to pick up the strand between the last stitch and the next stitch from back to front and knit into the front of this stitch.
M1L = left leaning increase (Make One Left): use your right needle to pick up the strand between the last stitch and the next stitch from back to front and knit into the back of this stitch.
M1RP = right leaning increase (Make One Right Purlwise): use your left needle to pick up the strand between the last stitch and the next stitch from back to front and purl into the front of this stitch.
M1LP = left leaning increase (Make One Left Purlwise): use your right needle to pick up the strand between the last stitch and the next stitch from back to front and purl into the back of this stitch.
About the Soave jumper
Please read the entire pattern carefully before starting. The Soave jumper is worked from the top down, starting with the back piece to the underarm. From the top of the back piece you then pick up stitches for the front piece, shaping the neckline with increases. Once the front is worked to the underarm, transfer the front and back pieces onto a circular needle and continue to work in the round to the desired length. The sleeves are picked up from existing stitches and worked in the round. For the neckline, pick up existing stitches to work in the round. The resulting neckband is folded over to the inside. The front and back pieces are decorated with an easy cable pattern and stripes created with purl and knit stitches.
Notes on the cabling and stripes
The jumper features two cables on the front and back pieces that start at the same point on the shoulder. The sleeves are also cabled. All the cables are knitted with ten stitches. The pattern will show you where to start the cable pattern (10 sts). It’s always a good idea to use a stitch marker to mark the spot. The cable is contrasted with a textured knit.
Back piece
Cast on 50(58)66(74)82(90)98(106) sts using 8 mm (60/80 cm) circular needles. Purl one round on the WS and add two stitch markers, one on the first stitch (not the needle) and another when 16(18)20(24)28(32)36(40) sts remain from the end of the round. The stitch marker denotes the edge of the neckline on the left shoulder (where you will later pick up stitches for the front piece).
Add 4 further stitches markers on the needle at 2(4)6(10)14(18)22(26) sts, 12(14)16(20)24(28)32(36) sts, 38(44)50(54)58(62)66(70) sts and 48(54)60(64)68(72)76(80) sts. You have now marked where the two cables will be, at 10 st intervals.
Now work the textured and cable knit flat, starting on Row 1 of the diagram: repeat A–B 2(4)6(10)14(18)22(26) sts, work B–C (10 sts = cable) and repeat A–B 2(4)6(10)14(18)22(26) sts. Work Rows 2 to 4 as per diagram and repeat Rows 5 to 16.
When your work measures 16(16)17(18)20(21)22(24) cm, break yarn and place the stitches on hold on a needle, stitch wire or some scrap yarn. Make a note of this row for your front piece.
Front piece, right shoulder
Place the back piece on a flat surface so that the starting edge is furthest away from you. Using 8 mm circular needles, pick up 16(18)20(24)28(32)36(40) sts from the right shoulder of the back piece. Start from the right and pick up 1 out of 1 sts. Turn your work and work one round in purl WS.
Start the textured and cable knit on the next RS round at Round 1 of the diagram. This is the same as for the back piece. Work in textured knit on either side of the cables. Work Rounds 2–4 as per the diagram. Now repeat Rounds 5–16.
Please note When you’ve finished Round 6, begin to work the neckline increases.
Increase row: work RS until 1 st remains, now M1R or M1RP as per diagram and knit 1 st. Repeat the increase row on RS for a total of 8(9)10(10)10(10)10(10) rounds. Work one more WS row. The shoulder will now have 24(27)30(34)38(42)46(50) sts. Break yarn and place the stitches on hold on a needle, stitch wire or some scrap yarn.
Front piece, left shoulder
Using 8 mm circular needles, pick up and knit 16(18)20(24)28(32)36(40) sts from the left shoulder of the back piece. Start knitting the increases from the neckline end whereyou placed the stitch marker and work towards the sleeve. Turn your work and purl one row WS.
Start the textured and cable knit on the next RS round at Round 1 of the diagram. This is the same as for the back piece. Work in textured knit on either side of the cables. Work Rounds 1 to 4. Now repeat Rounds 5 to 16.
Please note When you’ve finished Round 6, begin to work the neckline increases.
Increase row: knit 1 st on RS, M1R or M1RP as per diagram, knit to end of row. Repeat the increase row on RS as above for a total of 8(9)10(10)10(10)10(10) rows. Work one more WS row. The shoulder will now have 24(27)30(34)38(42)46(50) sts. Break yarn and place the stitches on hold on a needle, stitch wire or some scrap yarn.
Bringing the front piece together
You should now bring the front pieces together off the neckline. Work 24(27)30(34)38(42)46(50) sts on right shoulder RS, add 2(4)6(6)6(6)6(6) sts and continue to work the 24(27)30(34)38(42)46(50) sts on the left shoulder. The front piece now has 50(58)66(74)82(90)98(106) sts.
Top part of front piece to the underarm
Continue to work the front piece flat (back and forth) until it measures 16(16)17(18)20(21)22(24) cm and the cable pattern matches the back piece.
Bringing the body together
You will now knit the back and front pieces onto the same circular needle. Work the front piece (RS) to the left underarm, add 4(4)4(4)4(4)6(6) sts at underarm and bring together with the back piece. Work the back piece (RS) and add 4(4)4(4)4(4)6(6) sts at underarm as before. Insert stitch marker to hold your place and close to the round. There are now 108(124)140(156)172(188)208(224) sts on the needle.
Continue to work in the round until the body measures approx. 31(32)33(34)35(36)37(38) cm from the underarm. Alternatively, work to desired length, allowing for an approx. 8 cm hem. End the cable pattern here.
Now decrease16 stitches evenly on the next row by knitting 2 together (k2tog).
Change to 5 mm circular needles and work in rib from the next round. Continue in rib for a total of approx.8 cm and cast off using your preferred method.
Sleeves
Start under the armhole and pick up 50(52)54(56)60(64)68(74) sts using 8 mm 40 cm circular needles. Place one stitch marker at the start and another in the middle of the shoulder seam. The cable on the sleeve sits in the middle. Start the cable pattern 5 sts before the shoulder seam and finish 5 sts after the shoulder seam (it’s a good idea to mark the 10 sts using stitch markers). Otherwise continue to alternate between knit and purl rows as per the diagram as in the body.
Start off the sleeve in the round but start the pattern from Row 1 of the diagram. Work Rows 2–4 as per diagram and continue to repeat Rows 5–16.
When the sleeve measures approx. 8 cm, work decreases on either side of the underarm marker as follows: work the row until 2 sts remain before the stitch marker indicating the beginning of the round, k2tog, move the stitch marker and k2tog after the marker. You will decrease by 2 sts each row. Repeat the decreases as above approx. every 4 cm, 2(2)2(3)3(3)3(4) times.There are now 46(48)50(50)54(58)62(66) sts on the needle.
Work the pattern until you have achieved a length of 30–40 cm or as desired. Please allow for an approx. 10 cm cuff. It’s a good idea to try the sleeve on for size as you go along. Change to 5 mm needles and start to decrease 8 sts at regular intervals by k2tog. The sleeve has 38(40)42(42)46(50)54(58) sts.
Start working in rib from the next row and continue for10 cm. Cast off using your preferred method.
Repeat to make the other sleeve.
Neckline
Pick up 80–90 sts at regular intervals along the neckline using 5 mm 60 cm circular needles. Use a stitch marker to mark the start and work in rib in the round. Continue to work in rib for approx.12 cm. Cast off loosely. Fold the neckband over to the inside and stitch loosely into the starting edge with a darning needle using the yarn used for the project. Keep your stitches loose to avoid making the opening too tight.
Finishing
Weave in any loose ends and steam gently. And now you’re done!