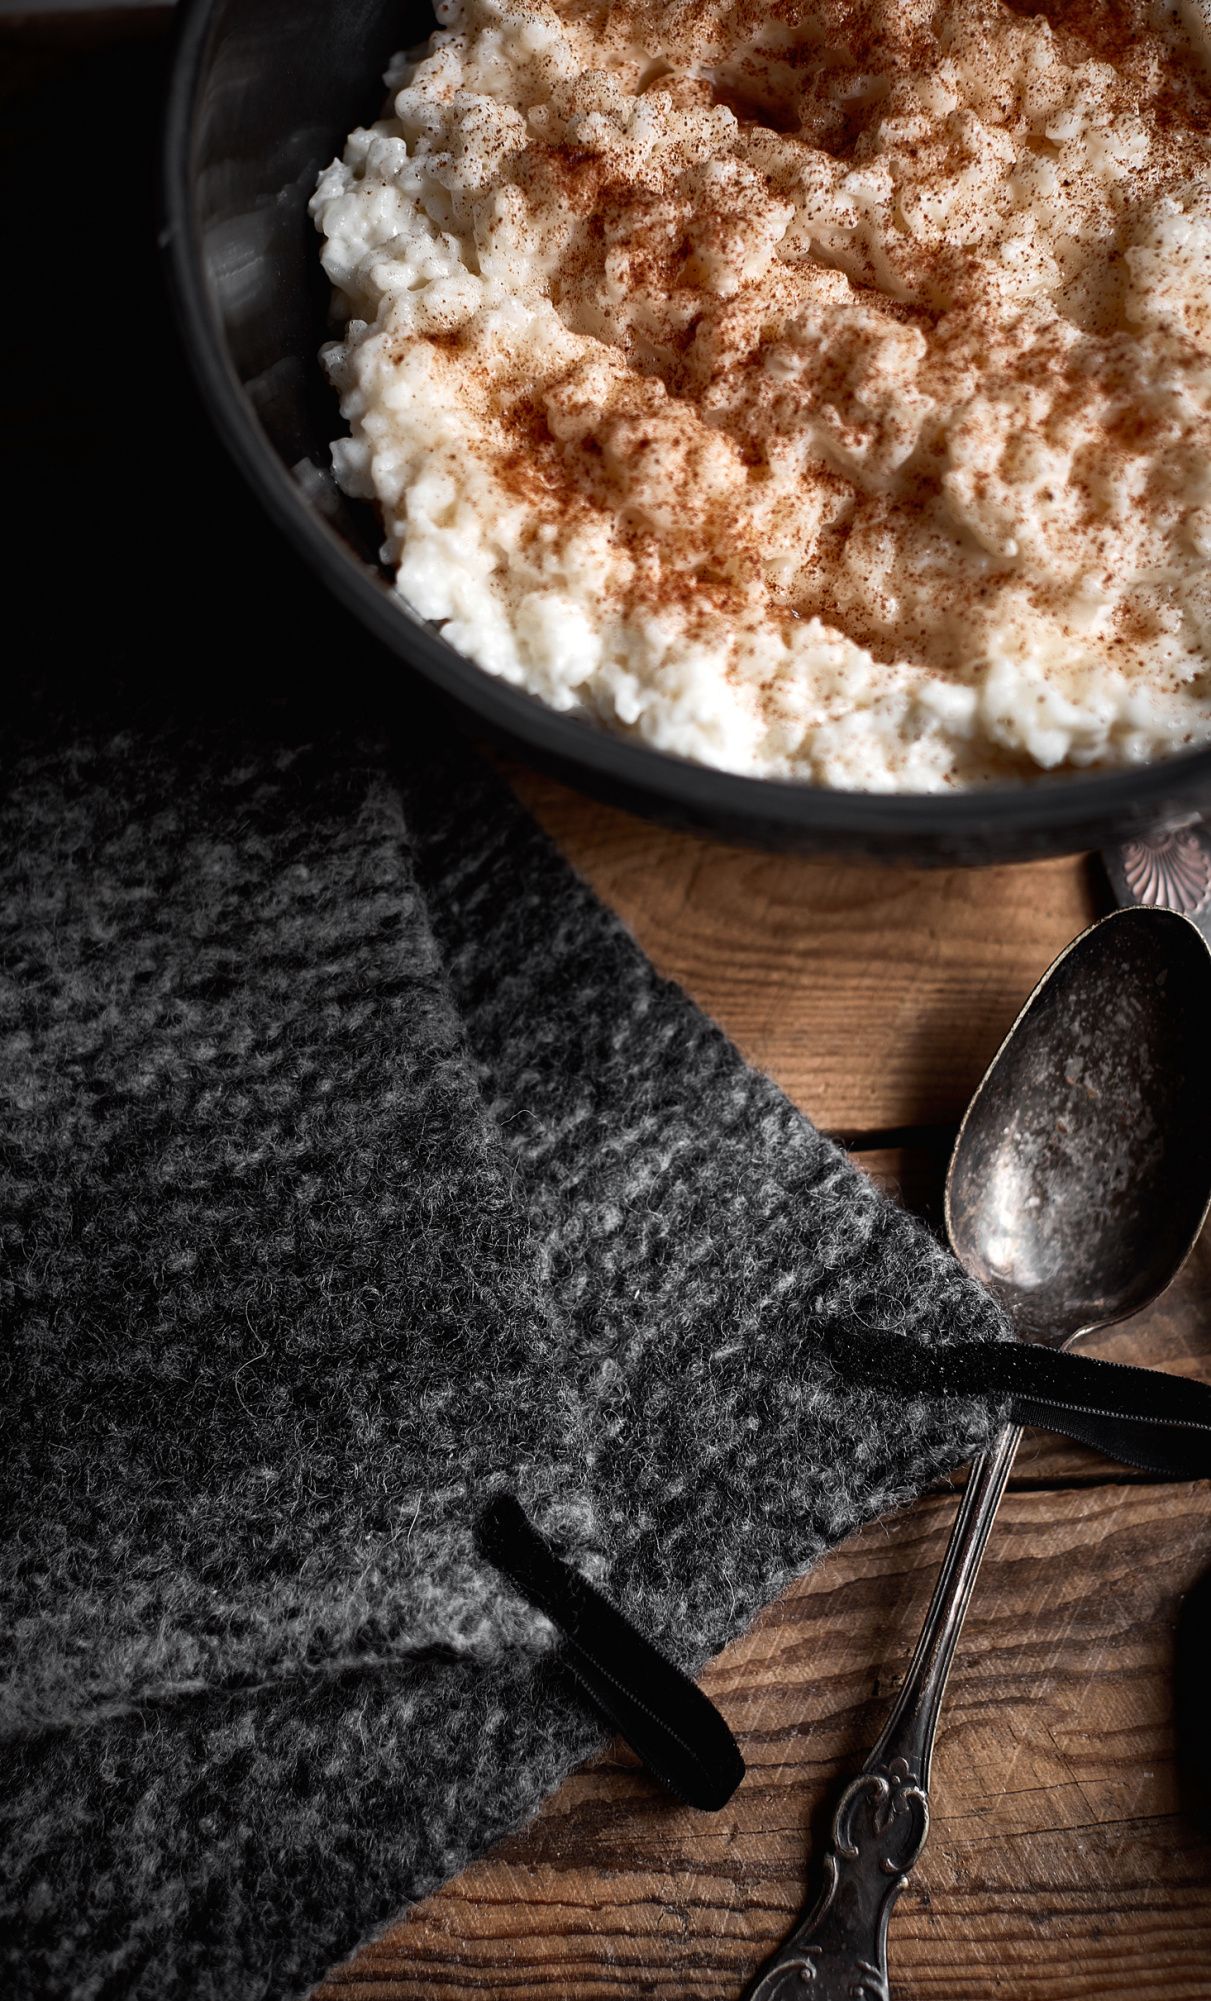
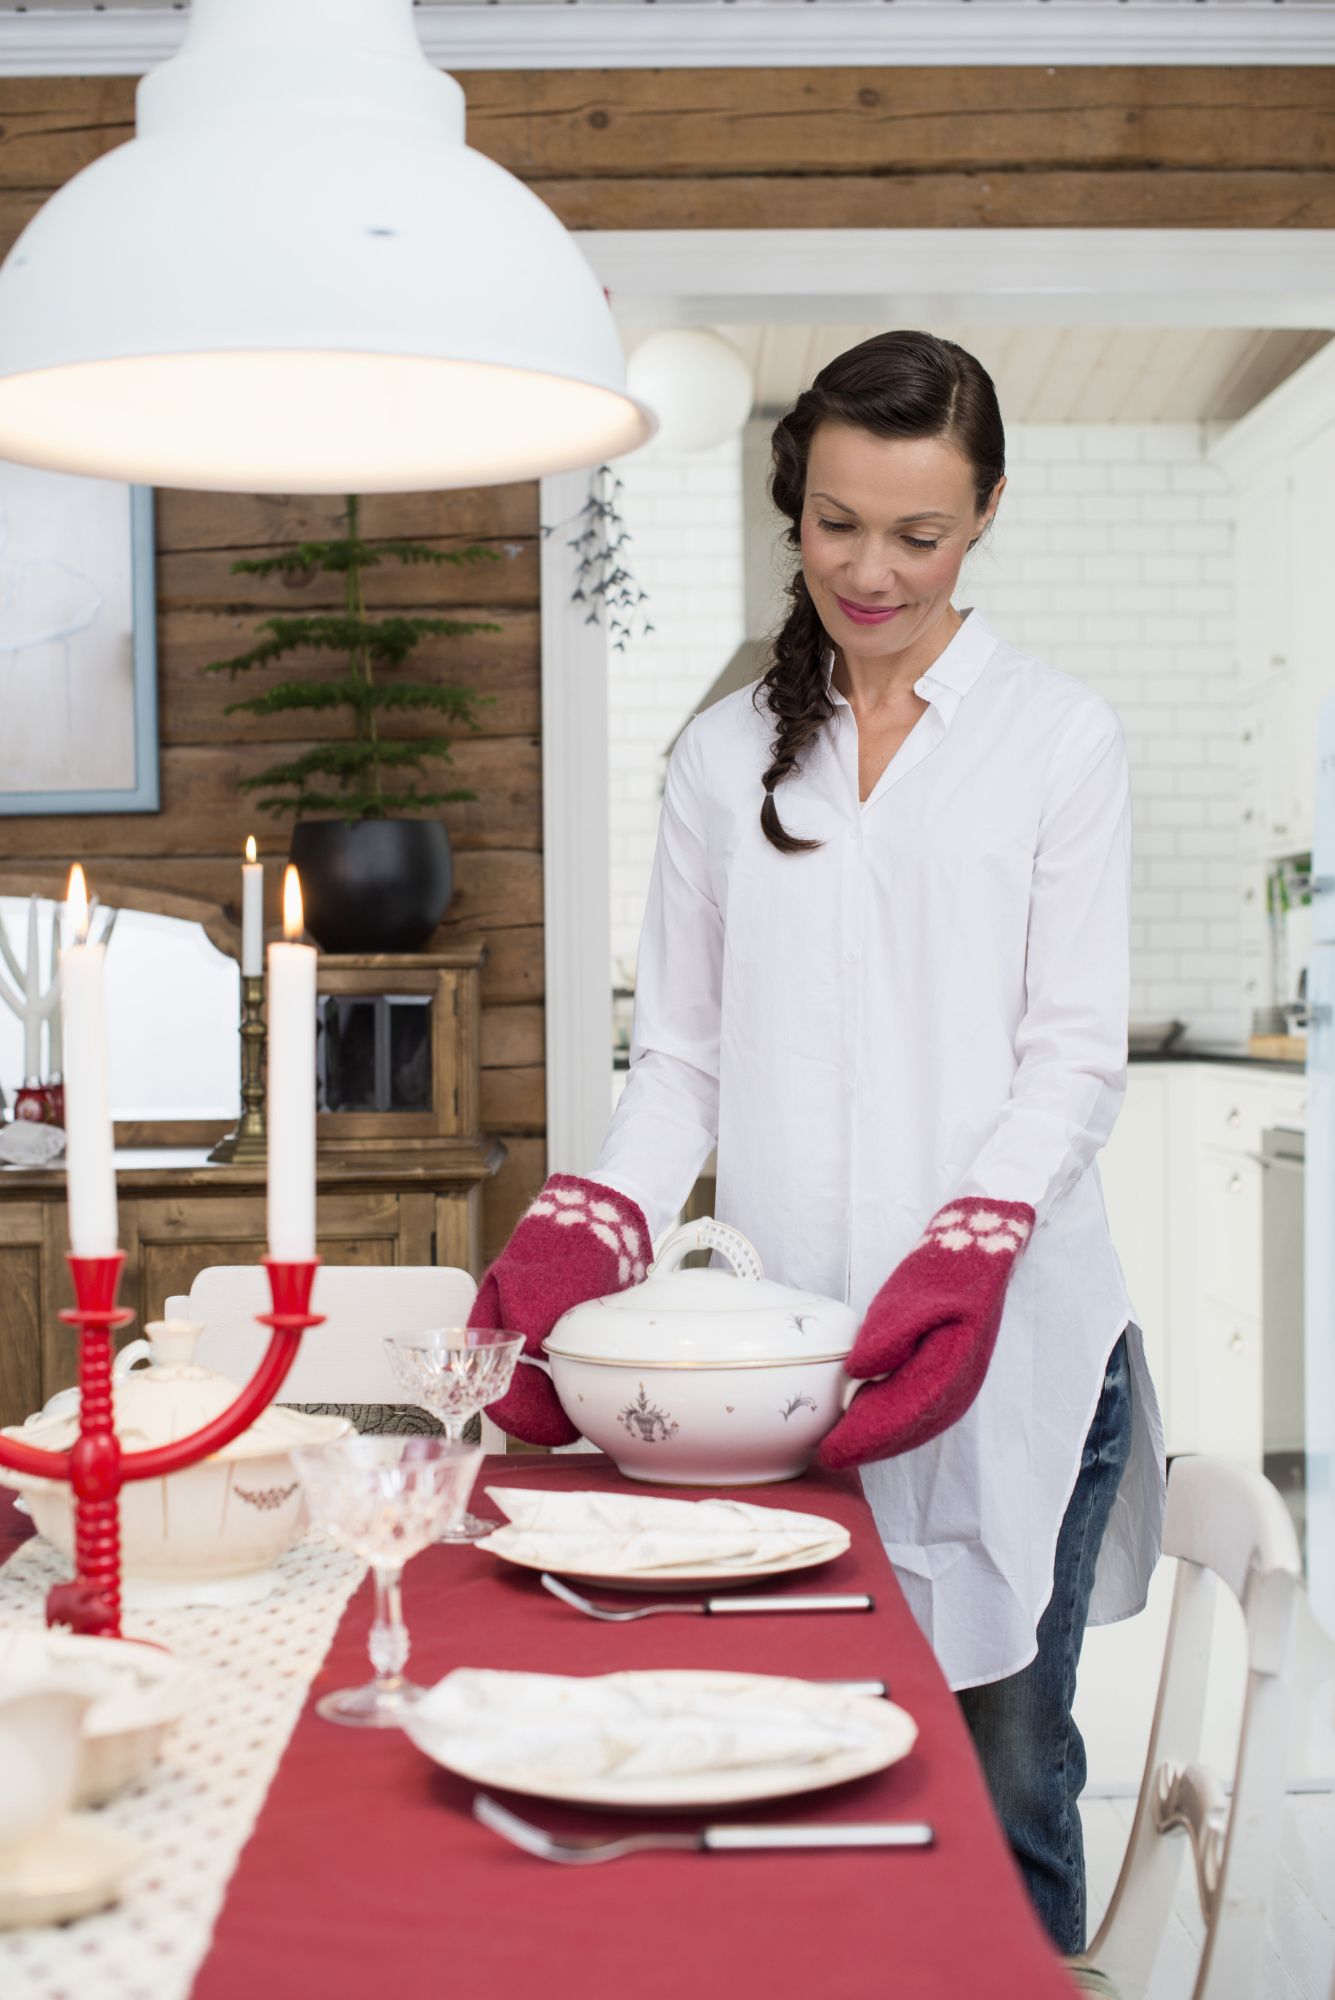
Knitted and felted oven mitt and potholder Novita Natura and Novita Cotton Soft
Easy & quick! The mitt and potholder are knitted with three strands of yarn: two strands of the felting Natura yarn and one strand of the non-felting Cotton Soft yarn.
Designer
Saara Toikka
Size(s)
One size
Finished dimensions
Noin 9 x 22 cm
Yarn demand
Oven mitt: Novita Natura (048) Clay less than 100 g and Novita Cotton Soft (099) Black less than 50 g Potholder: Novita Natura (098) Wolf 50 g and Novita Cotton Soft (099) Black less than 25 g
Needles and other supplies
Double-pointed needles (oven mitt): Novita 8-10 mm (UK 0-000 / US 11-15) or size needed. Needles (potholder): Novita 8-10 mm (UK 0-000 / US 11-15) or size needed. Other supplies: Some black velvet ribbon for the hanging loop
Finished dimensions
Noin 9 x 22 cm
Stitch patterns:
- Stockinette stitch in the round:
knit all rows.
- Garter stitch
Oven mitt
With three strands of yarn, cast on 32 sts and divide them evenly onto four needles, 8 sts each. The beginning of the round is between needles IV and I.
Knit 1 round and purl 1 round. Work stockinette st for the rest of the piece, i.e. knit all rounds.
When the piece measures 14 cm, mark the spot for the thumb hole: using a different yarn, knit the 8 sts on needle I and 6 sts from needle II (14 sts in total). Move these sts back onto the left needle and knit them again using the three strands of yarn. Continue working stockinette st with all sts.
When the piece measures 15 cm from the thumbhole, begin the top decreases:
1st decrease round: *k2, k2tog*, repeat *-* to end. 8 sts decreased, 24 sts on the needles. Work 1 round without decreases.
2nd decrease round: *k1, k2tog*, repeat *-* to end. 8 sts decreased, 16 sts on the needles. Work 1 round without decreases.
3rd decrease round: k2tog to end of round. 8 sts decreased again, 8 sts remaining. Break the yarn and pull it through the sts. Weave in.
Thumb
Remove the different yarn and pick up the 14 sts from both sides of the thumbhole. Pick up 2 additional sts from both sides = 32 sts. Distribute the sts evenly onto four needles, 8 sts each. The beginning of the round is between needles IV and I. Work stockinette st in the round.
Note: After 2 rounds, begin the decreases: On needle I, k2tog, knit to end of needle. Knit the sts on needle II until 2 sts remain, k2tog. On needle III, k2tog, knit to end of needle. Knit the sts on needle IV until 2 sts remain, k2tog. 4 sts decreased, 28 sts on the needles. Work 2 rounds without decreases and then repeat the decreases = 24 sts. Repeat the decreases every 3rd round 2 more times = 16 sts.
Work 5 rounds without decreases. *K2tog*, repeat *-* 7 more times. Break the yarn and pull it through the sts. Weave in.
Finishing
Turn the mitt inside out. Use an iron to flatten the edges if needed. Loosely attach some plastic inside the mitt to keep the layers from felting together. If this is your first time felting with a washing machine, try a 30-40 °C program with an 800 rpm spin cycle. Use a small amount of laundry detergent. Add a few towels to increase the felting. Shape the mitt while it is still wet.
Use the velvet ribbon to make a hanging loop.
Potholder
With three strands of yarn, cast on 30 sts. Work in garter st until the piece measures 30 cm. Securely bind off and weave in.
Finishing
Felt the potholder in the same way as you did the oven mitt but don't use the plastic. Use the velvet ribbon to make a hanging loop.
Knitted and felted oven mitt and potholder Novita Natura and Novita Cotton Soft
Size(s)
One size
Finished dimensions
Noin 9 x 22 cm
Yarn demand
Oven mitt: Novita Natura (048) Clay less than 100 g and Novita Cotton Soft (099) Black less than 50 g Potholder: Novita Natura (098) Wolf 50 g and Novita Cotton Soft (099) Black less than 25 g
Needles and other supplies
Double-pointed needles (oven mitt): Novita 8-10 mm (UK 0-000 / US 11-15) or size needed. Needles (potholder): Novita 8-10 mm (UK 0-000 / US 11-15) or size needed. Other supplies: Some black velvet ribbon for the hanging loop
Stitch patterns:
- Stockinette stitch in the round:
knit all rows.
- Garter stitch
Oven mitt
With three strands of yarn, cast on 32 sts and divide them evenly onto four needles, 8 sts each. The beginning of the round is between needles IV and I.
Knit 1 round and purl 1 round. Work stockinette st for the rest of the piece, i.e. knit all rounds.
When the piece measures 14 cm, mark the spot for the thumb hole: using a different yarn, knit the 8 sts on needle I and 6 sts from needle II (14 sts in total). Move these sts back onto the left needle and knit them again using the three strands of yarn. Continue working stockinette st with all sts.
When the piece measures 15 cm from the thumbhole, begin the top decreases:
1st decrease round: *k2, k2tog*, repeat *-* to end. 8 sts decreased, 24 sts on the needles. Work 1 round without decreases.
2nd decrease round: *k1, k2tog*, repeat *-* to end. 8 sts decreased, 16 sts on the needles. Work 1 round without decreases.
3rd decrease round: k2tog to end of round. 8 sts decreased again, 8 sts remaining. Break the yarn and pull it through the sts. Weave in.
Thumb
Remove the different yarn and pick up the 14 sts from both sides of the thumbhole. Pick up 2 additional sts from both sides = 32 sts. Distribute the sts evenly onto four needles, 8 sts each. The beginning of the round is between needles IV and I. Work stockinette st in the round.
Note: After 2 rounds, begin the decreases: On needle I, k2tog, knit to end of needle. Knit the sts on needle II until 2 sts remain, k2tog. On needle III, k2tog, knit to end of needle. Knit the sts on needle IV until 2 sts remain, k2tog. 4 sts decreased, 28 sts on the needles. Work 2 rounds without decreases and then repeat the decreases = 24 sts. Repeat the decreases every 3rd round 2 more times = 16 sts.
Work 5 rounds without decreases. *K2tog*, repeat *-* 7 more times. Break the yarn and pull it through the sts. Weave in.
Finishing
Turn the mitt inside out. Use an iron to flatten the edges if needed. Loosely attach some plastic inside the mitt to keep the layers from felting together. If this is your first time felting with a washing machine, try a 30-40 °C program with an 800 rpm spin cycle. Use a small amount of laundry detergent. Add a few towels to increase the felting. Shape the mitt while it is still wet.
Use the velvet ribbon to make a hanging loop.
Potholder
With three strands of yarn, cast on 30 sts. Work in garter st until the piece measures 30 cm. Securely bind off and weave in.
Finishing
Felt the potholder in the same way as you did the oven mitt but don't use the plastic. Use the velvet ribbon to make a hanging loop.


