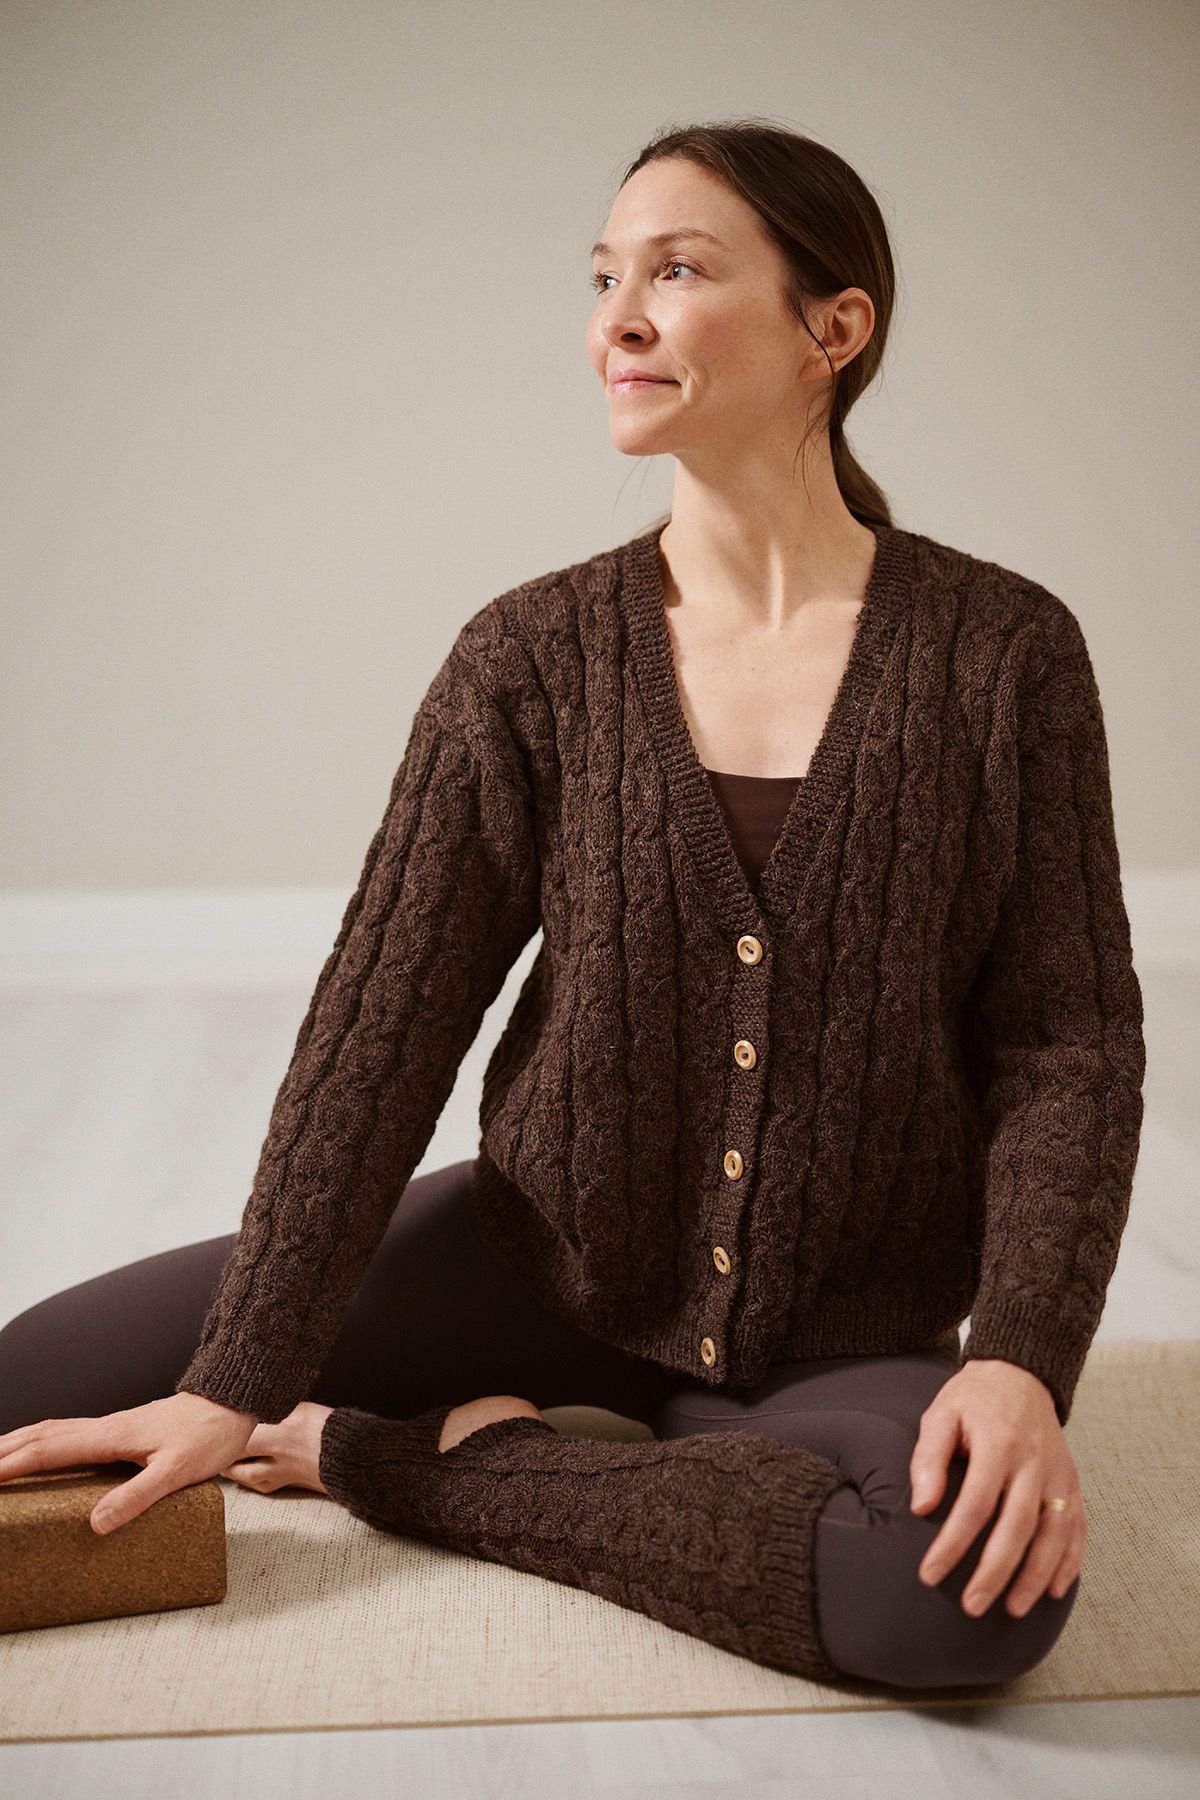
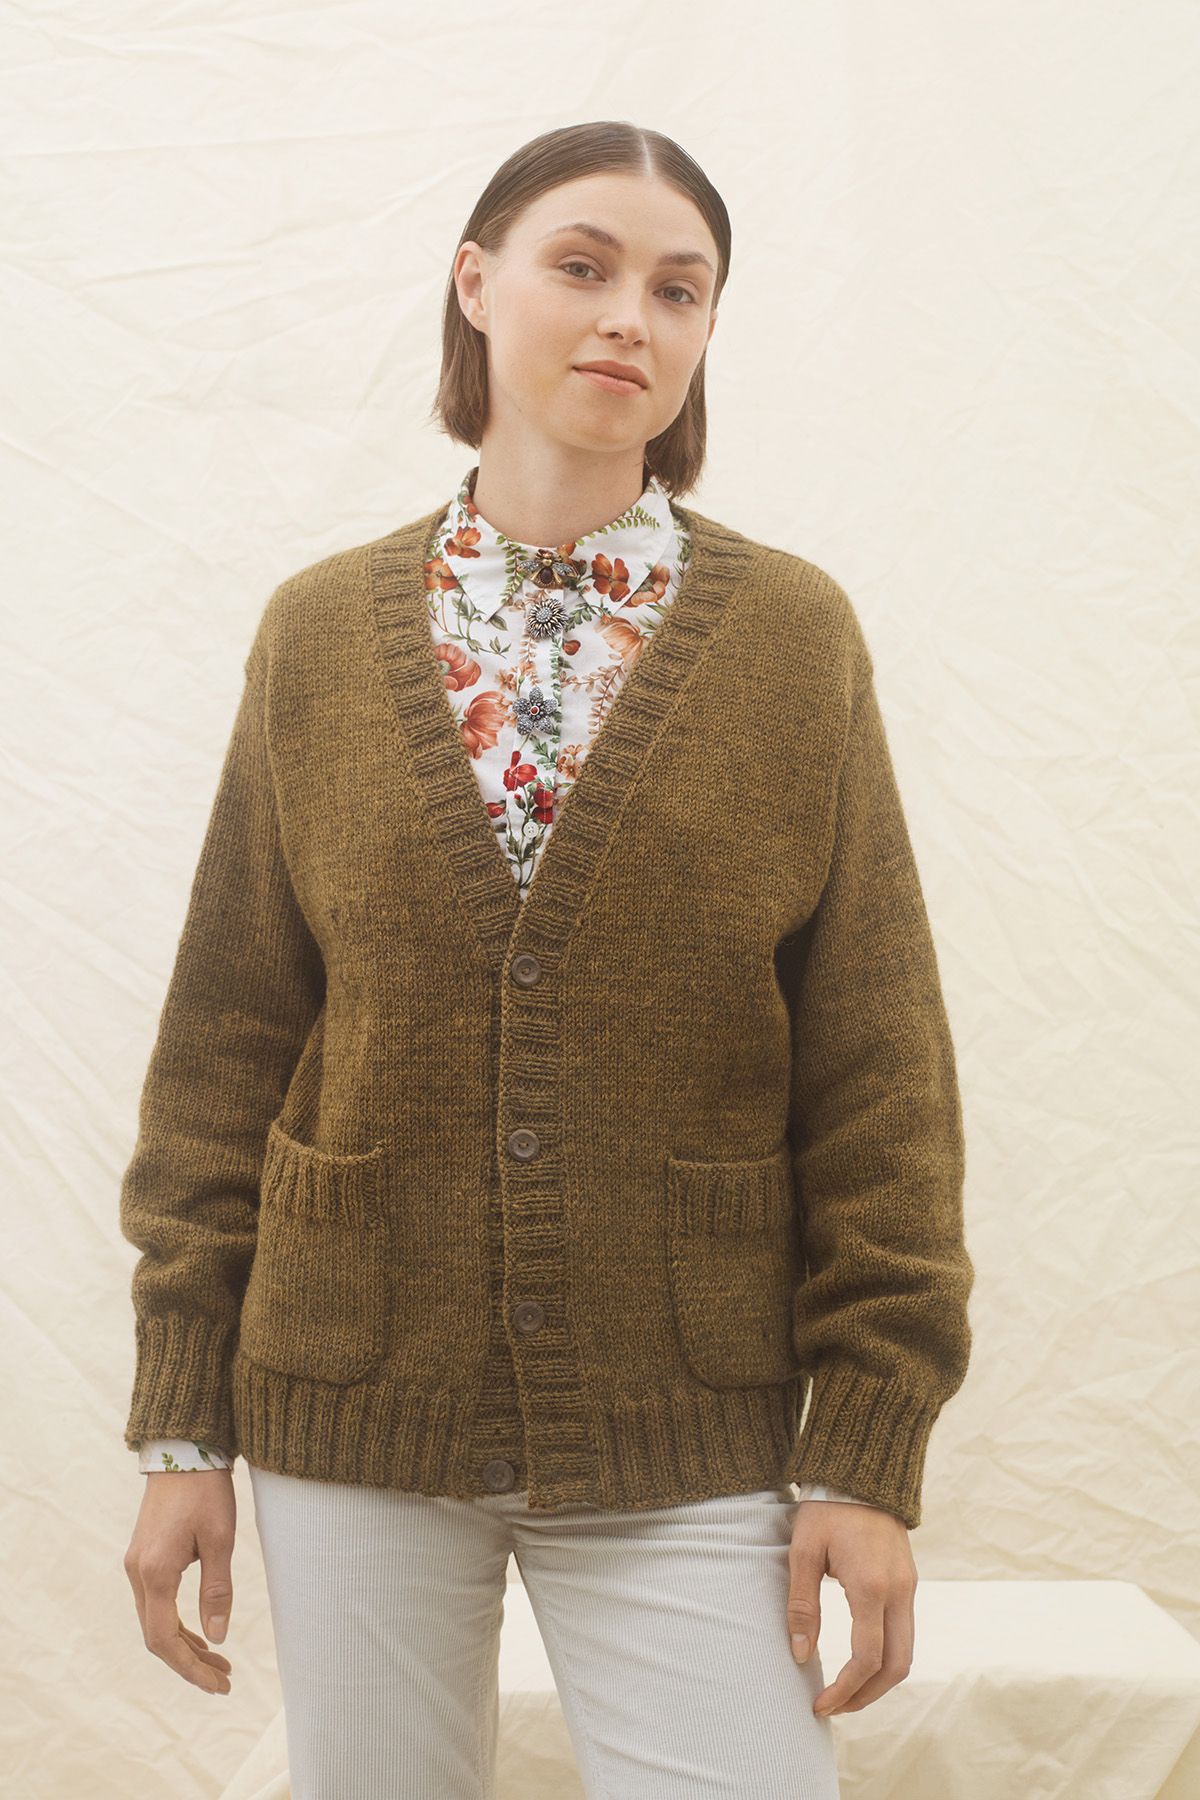
Women's Cardigan Novita Cotton Soft and Cotton Soft Color
This casual cardigan is made from 100 % soft cotton. The single-colored Novita Soft Cotton provides the main color, while the interesting, textured striping comes from the various shades of beige of Novita Cotton Soft Color.
Designer
Lea Petäjä
Size(s)
XS(S)M(L)XL(XXL)
Finished dimensions
Body circumference 86(94)102(110)120(130) cm Length of the garment 78(80)82(84)86(88) cm Inner sleeve length 45(46)47(48)48(49) cm
Yarn demand
Novita Cotton Soft (010) Off-white 450(500)550(600)650(700) g and Novita Cotton Soft Color (864) Sand 200(200)250(250)300(300) g
Needles and other supplies
Circular needle: (80 cm) Novita 3 mm-3½ mm or the size needed to obtain gauge.
Finished dimensions
Body circumference 86(94)102(110)120(130) cm Length of the garment 78(80)82(84)86(88) cm Inner sleeve length 45(46)47(48)48(49) cm
Stitch patterns:
- Garter stitch:
knit every row.
- Textured stripes:
knit according to the chart and the written instructions.
Gauge:
- 21 sts and 35 rows of textured stitch pattern = 10 cm
Right Front
Using the off-white yarn, cast on 64(68)72(76)82(86) sts. Work 5 rows in garter stitch and then purl 1 row.
Change to the multi-coloured yarn and begin the textured striping on the WS row from row 7 of chart I: knit 1 st from the left end of the chart, repeat the 2 st pattern repeat 31(33)35(37)40(42) times and knit 1 st from the right end of the chart. Knit through rows 8-22 of the chart and then keep repeating rows 7-22.
When the piece measures 19(20)20(21)21(22) cm, decrease 1 st on the left end of the piece. Always decrease the 2nd st from the edge and keep working the outermost st as before. Repeat the decrease every 10 cm for 3 more times = 60(64)68(72)78(82) sts.
When the piece measures (38)40(42)44(46) cm, increase 1 st to the front edge (=the right edge): on the RS row k1, m1 (=pick up the strand between 2 sts and knit it through the back loop). Make the increase on either row 10, 12,18 or 20 of the chart. Repeat the increase every 2 cm 9 more times = 70(74)78(82)88(92) sts.
Note: When the piece measures 59(60)61(62)64(65) cm, bind off 1x5(5)5(6)6(6) sts on the left end of the work for the armhole. Decrease the 2nd st from the edge on the left end every 2nd row 6(6)6(7)7(7) times.
Note: When you have knitted 1 cm past the last increase on the front edge, start the decreases. On a RS row, k1, skp (=slip 1 st, k1, pull slipped st over), knit to end. Repeat the decrease on every 2nd row for a further 39(39)38(38)39(38) times.
Bind off the remaining 19(23)28(30)35(40) s (=the shoulder). [armhole measures approx. 19(20)21(22)22(23) cm].
Left Front
Using the off-white yarn, cast on 64(68)72(76)82(86) sts. Work 5 rows in garter stitch.
Change to the multi-coloured yarn and begin the textured striping on the right side row from row 6 of chart II: knit 1 st from the right end of the chart, repeat the 2 st pattern repeat 31(33)35(37)40(42) times and knit 1 st from the left end of the chart. Knit through rows 7-21 of the chart and then repeat rows 6-21.
When the piece measures 19(20)20(21)21(22) cm, decrease 1 st on the right end. Always decrease the 2nd st from the edge and keep working the outermost st as before. Repeat the decrease every 10 cm 3 more times = 60(64)68(72)78(82) sts.
When the piece measures 36(38)40(42)44(46) cm, increase 1 st to the front edge (= the left end of the piece): knit through the next RS row until 1 st remains, increase 1 (= pick up the strand between 2 sts and knit it through the back loop), k1. Make the increase on either row 9, 11, 17 or 19 of the chart. Repeat the increase every 2 cm for 9 more times = 70(74)78(82)88(92) sts.
Note: When the piece measures 59(60)61(62)64(65) cm, bind off on the right end of the work 1x5(5)5(6)6(6) sts for the armhole. Decrease the 2nd st from the edge on the right end every 2nd row 6(6)6(7)7(7) times.
Note: When you have knitted 1 cm past the last increase on the front edge, start the decreases on the front edge. Knit through the RS row until 3 sts remain, k2 together, k1. Repeat the decrease every 2nd row for 39(39)38(38)39(38) more times.
Bind off the remaining 19(23)28(30)35(40) sts (= shoulder) [height of the armhole approx. 19(20)21(22)22(23) cm].
The Back
Using the off-white yarn cast on 100(108)118(126)136(146) sts. Knit 5 rows in garter stitch and then purl 1 row.
Change to the multi-coloured yarn and begin the textured striping on a WS row from row 7 of chart I: starting from the left end of the chart, k1, repeat the 2 st pattern repeat 49(53)58(62)67(72) times and then k1. Knit through rows 8-22 of the chart and then repeat rows 7-22.
When the piece measures 19(20)20(21)21(22) cm, bind off 1 st on both ends of the work (again decrease the 2nd st from the end). Repeat the decreases every 10 cm for 3 more times = 92(100)110(118)128(138) sts.
When the piece measures 59(60)61(62)64(65) cm, bind off for the armhole on both ends of the piece 1x5(5)5(6)6(6) sts. Bind off 1 st (the 2nd st from the end) on both ends every 2nd row 6(6)6(7)7(7) times = 70(78)88(92)102(112) sts.
When the armhole measures 2 cm less than the armhole on the front [approx. 17(18)19(20)20(21) cm] and you have just knitted 3 rows in garter st using the off-white yarn after the last multi-coloured stripe, bind off on the neckline edge 2x1 st (bind off the 2nd to last st).
When the neckline measures approx. 2 cm [height of the armhole approx. 19(20)21(22)22(23) cm], bind off the 19(23)28(30)35(40) sts (= the shoulder).
Knit the other side of the neckline to match.
Sleeves
Using the off-white yarn cast on 48(48)50(50)52(54) sts. Knit 5 rows in garter stitch and then purl 1 row.
Change for the multi-coloured yarn and begin the textured striping on a WS row from row 7 of chart I: starting from the left of the chart, k1, repeat the 2 st pattern repeat 23(23)24(24)25(26) times, k1. Knit through rows 8-22 of the chart and then repeat rows 7-22.
Note: When the piece measures 15(11)10(14)8(7) cm, increase 1 st on both ends of the piece. Repeat the increases every 2,5(2,5)2,5(2)2,5(2,5) cm for 11(13)14(16)15(16) more times = 72(76)80(84)84(88) sts.
When the piece measures 45(46)47(48)48(49) cm, bind off on both ends of the piece on every 2nd row 1x5(5)5(6(6)6 sts. Decrease 1 st on both ends (again, decrease the 2nd st from the edge) 8(8)8(9)9(9) times. Bind off the remaining sts.
Knit the other sleeve to match.
Finishing
Lay the pieces wrong side up to measurements on a surface, mist with a spray bottle and allow to dry.
Sew the shoulder seams.
Attach the sleeves. Sew the side seams and the sleeve seams.
Women's Cardigan Novita Cotton Soft and Cotton Soft Color
Size(s)
XS(S)M(L)XL(XXL)
Finished dimensions
Body circumference 86(94)102(110)120(130) cm Length of the garment 78(80)82(84)86(88) cm Inner sleeve length 45(46)47(48)48(49) cm
Yarn demand
Novita Cotton Soft (010) Off-white 450(500)550(600)650(700) g and Novita Cotton Soft Color (864) Sand 200(200)250(250)300(300) g
Needles and other supplies
Circular needle: (80 cm) Novita 3 mm-3½ mm or the size needed to obtain gauge.
Stitch patterns:
- Garter stitch:
knit every row.
- Textured stripes:
knit according to the chart and the written instructions.
Gauge:
- 21 sts and 35 rows of textured stitch pattern = 10 cm
Right Front
Using the off-white yarn, cast on 64(68)72(76)82(86) sts. Work 5 rows in garter stitch and then purl 1 row.
Change to the multi-coloured yarn and begin the textured striping on the WS row from row 7 of chart I: knit 1 st from the left end of the chart, repeat the 2 st pattern repeat 31(33)35(37)40(42) times and knit 1 st from the right end of the chart. Knit through rows 8-22 of the chart and then keep repeating rows 7-22.
When the piece measures 19(20)20(21)21(22) cm, decrease 1 st on the left end of the piece. Always decrease the 2nd st from the edge and keep working the outermost st as before. Repeat the decrease every 10 cm for 3 more times = 60(64)68(72)78(82) sts.
When the piece measures (38)40(42)44(46) cm, increase 1 st to the front edge (=the right edge): on the RS row k1, m1 (=pick up the strand between 2 sts and knit it through the back loop). Make the increase on either row 10, 12,18 or 20 of the chart. Repeat the increase every 2 cm 9 more times = 70(74)78(82)88(92) sts.
Note: When the piece measures 59(60)61(62)64(65) cm, bind off 1x5(5)5(6)6(6) sts on the left end of the work for the armhole. Decrease the 2nd st from the edge on the left end every 2nd row 6(6)6(7)7(7) times.
Note: When you have knitted 1 cm past the last increase on the front edge, start the decreases. On a RS row, k1, skp (=slip 1 st, k1, pull slipped st over), knit to end. Repeat the decrease on every 2nd row for a further 39(39)38(38)39(38) times.
Bind off the remaining 19(23)28(30)35(40) s (=the shoulder). [armhole measures approx. 19(20)21(22)22(23) cm].
Left Front
Using the off-white yarn, cast on 64(68)72(76)82(86) sts. Work 5 rows in garter stitch.
Change to the multi-coloured yarn and begin the textured striping on the right side row from row 6 of chart II: knit 1 st from the right end of the chart, repeat the 2 st pattern repeat 31(33)35(37)40(42) times and knit 1 st from the left end of the chart. Knit through rows 7-21 of the chart and then repeat rows 6-21.
When the piece measures 19(20)20(21)21(22) cm, decrease 1 st on the right end. Always decrease the 2nd st from the edge and keep working the outermost st as before. Repeat the decrease every 10 cm 3 more times = 60(64)68(72)78(82) sts.
When the piece measures 36(38)40(42)44(46) cm, increase 1 st to the front edge (= the left end of the piece): knit through the next RS row until 1 st remains, increase 1 (= pick up the strand between 2 sts and knit it through the back loop), k1. Make the increase on either row 9, 11, 17 or 19 of the chart. Repeat the increase every 2 cm for 9 more times = 70(74)78(82)88(92) sts.
Note: When the piece measures 59(60)61(62)64(65) cm, bind off on the right end of the work 1x5(5)5(6)6(6) sts for the armhole. Decrease the 2nd st from the edge on the right end every 2nd row 6(6)6(7)7(7) times.
Note: When you have knitted 1 cm past the last increase on the front edge, start the decreases on the front edge. Knit through the RS row until 3 sts remain, k2 together, k1. Repeat the decrease every 2nd row for 39(39)38(38)39(38) more times.
Bind off the remaining 19(23)28(30)35(40) sts (= shoulder) [height of the armhole approx. 19(20)21(22)22(23) cm].
The Back
Using the off-white yarn cast on 100(108)118(126)136(146) sts. Knit 5 rows in garter stitch and then purl 1 row.
Change to the multi-coloured yarn and begin the textured striping on a WS row from row 7 of chart I: starting from the left end of the chart, k1, repeat the 2 st pattern repeat 49(53)58(62)67(72) times and then k1. Knit through rows 8-22 of the chart and then repeat rows 7-22.
When the piece measures 19(20)20(21)21(22) cm, bind off 1 st on both ends of the work (again decrease the 2nd st from the end). Repeat the decreases every 10 cm for 3 more times = 92(100)110(118)128(138) sts.
When the piece measures 59(60)61(62)64(65) cm, bind off for the armhole on both ends of the piece 1x5(5)5(6)6(6) sts. Bind off 1 st (the 2nd st from the end) on both ends every 2nd row 6(6)6(7)7(7) times = 70(78)88(92)102(112) sts.
When the armhole measures 2 cm less than the armhole on the front [approx. 17(18)19(20)20(21) cm] and you have just knitted 3 rows in garter st using the off-white yarn after the last multi-coloured stripe, bind off on the neckline edge 2x1 st (bind off the 2nd to last st).
When the neckline measures approx. 2 cm [height of the armhole approx. 19(20)21(22)22(23) cm], bind off the 19(23)28(30)35(40) sts (= the shoulder).
Knit the other side of the neckline to match.
Sleeves
Using the off-white yarn cast on 48(48)50(50)52(54) sts. Knit 5 rows in garter stitch and then purl 1 row.
Change for the multi-coloured yarn and begin the textured striping on a WS row from row 7 of chart I: starting from the left of the chart, k1, repeat the 2 st pattern repeat 23(23)24(24)25(26) times, k1. Knit through rows 8-22 of the chart and then repeat rows 7-22.
Note: When the piece measures 15(11)10(14)8(7) cm, increase 1 st on both ends of the piece. Repeat the increases every 2,5(2,5)2,5(2)2,5(2,5) cm for 11(13)14(16)15(16) more times = 72(76)80(84)84(88) sts.
When the piece measures 45(46)47(48)48(49) cm, bind off on both ends of the piece on every 2nd row 1x5(5)5(6(6)6 sts. Decrease 1 st on both ends (again, decrease the 2nd st from the edge) 8(8)8(9)9(9) times. Bind off the remaining sts.
Knit the other sleeve to match.
Finishing
Lay the pieces wrong side up to measurements on a surface, mist with a spray bottle and allow to dry.
Sew the shoulder seams.
Attach the sleeves. Sew the side seams and the sleeve seams.


