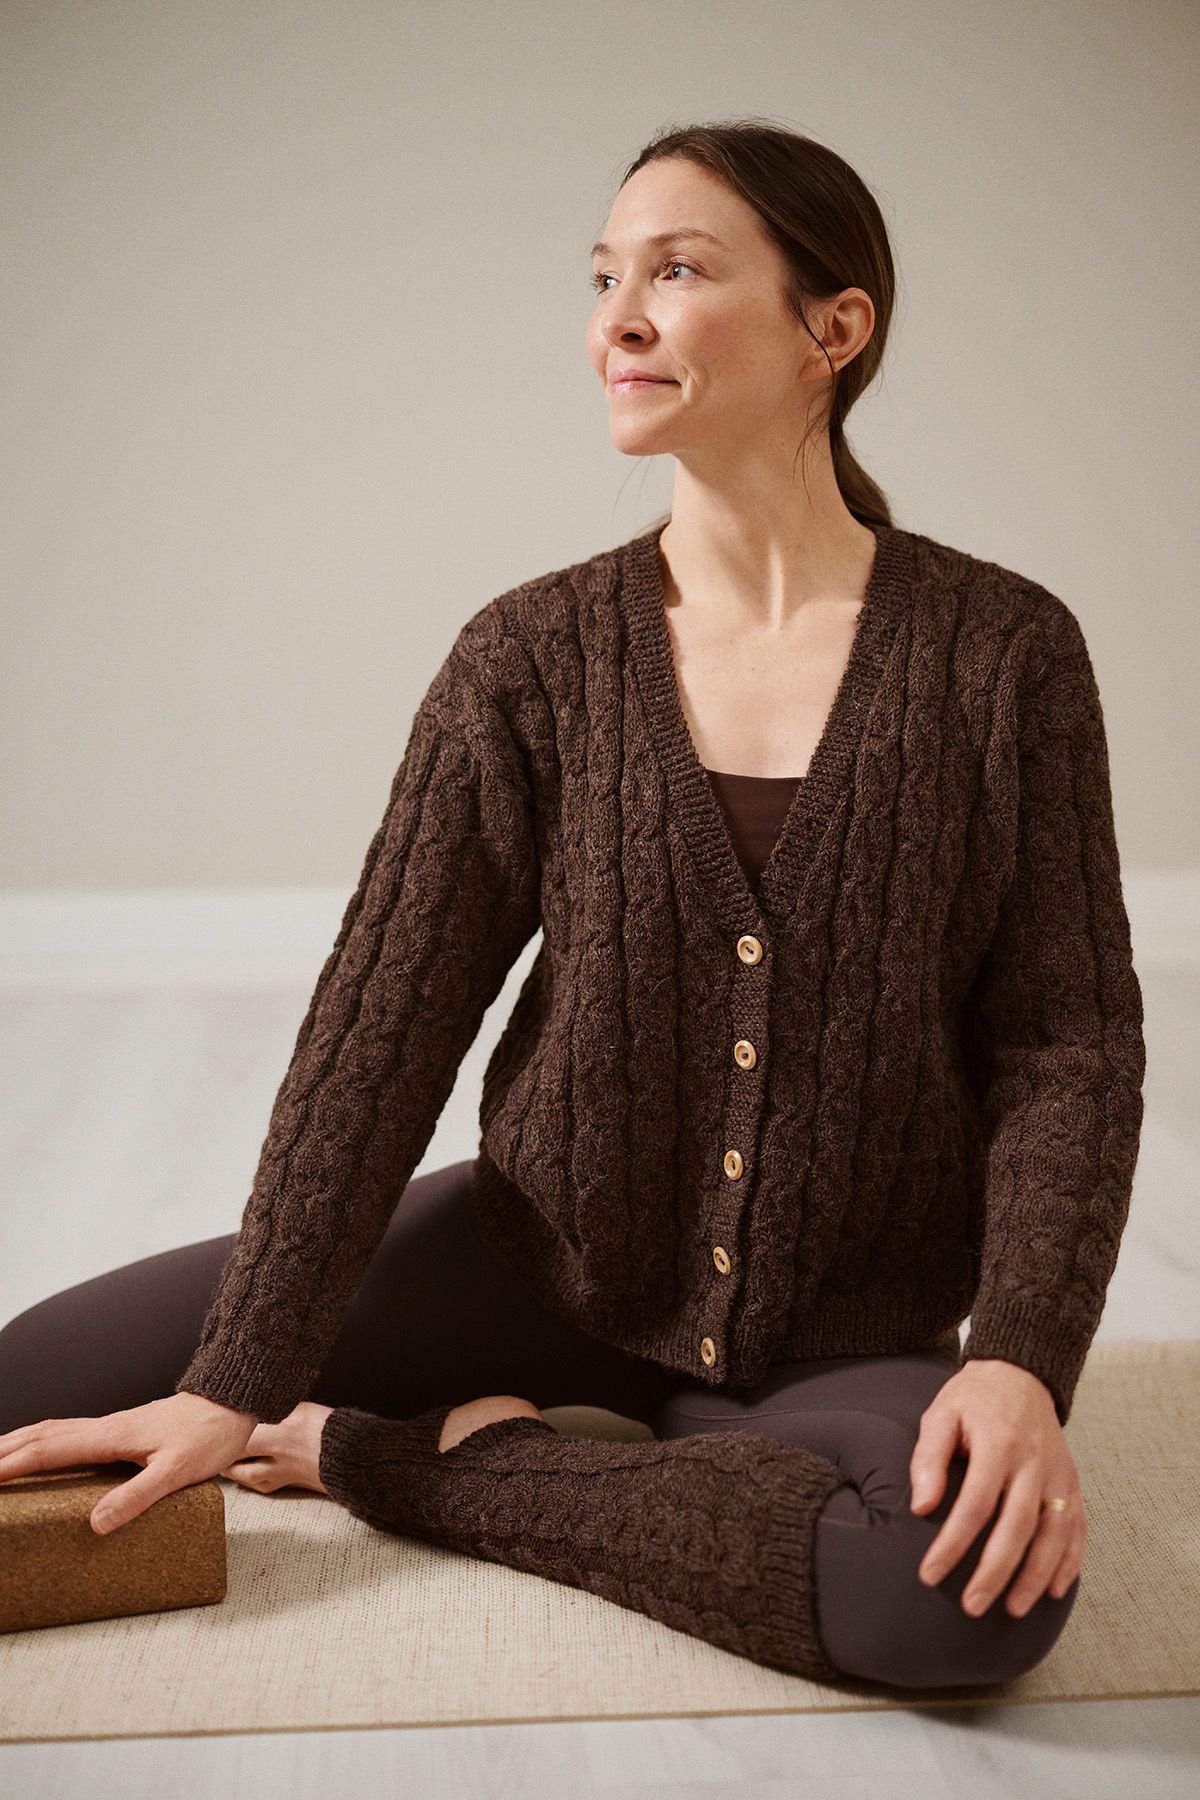
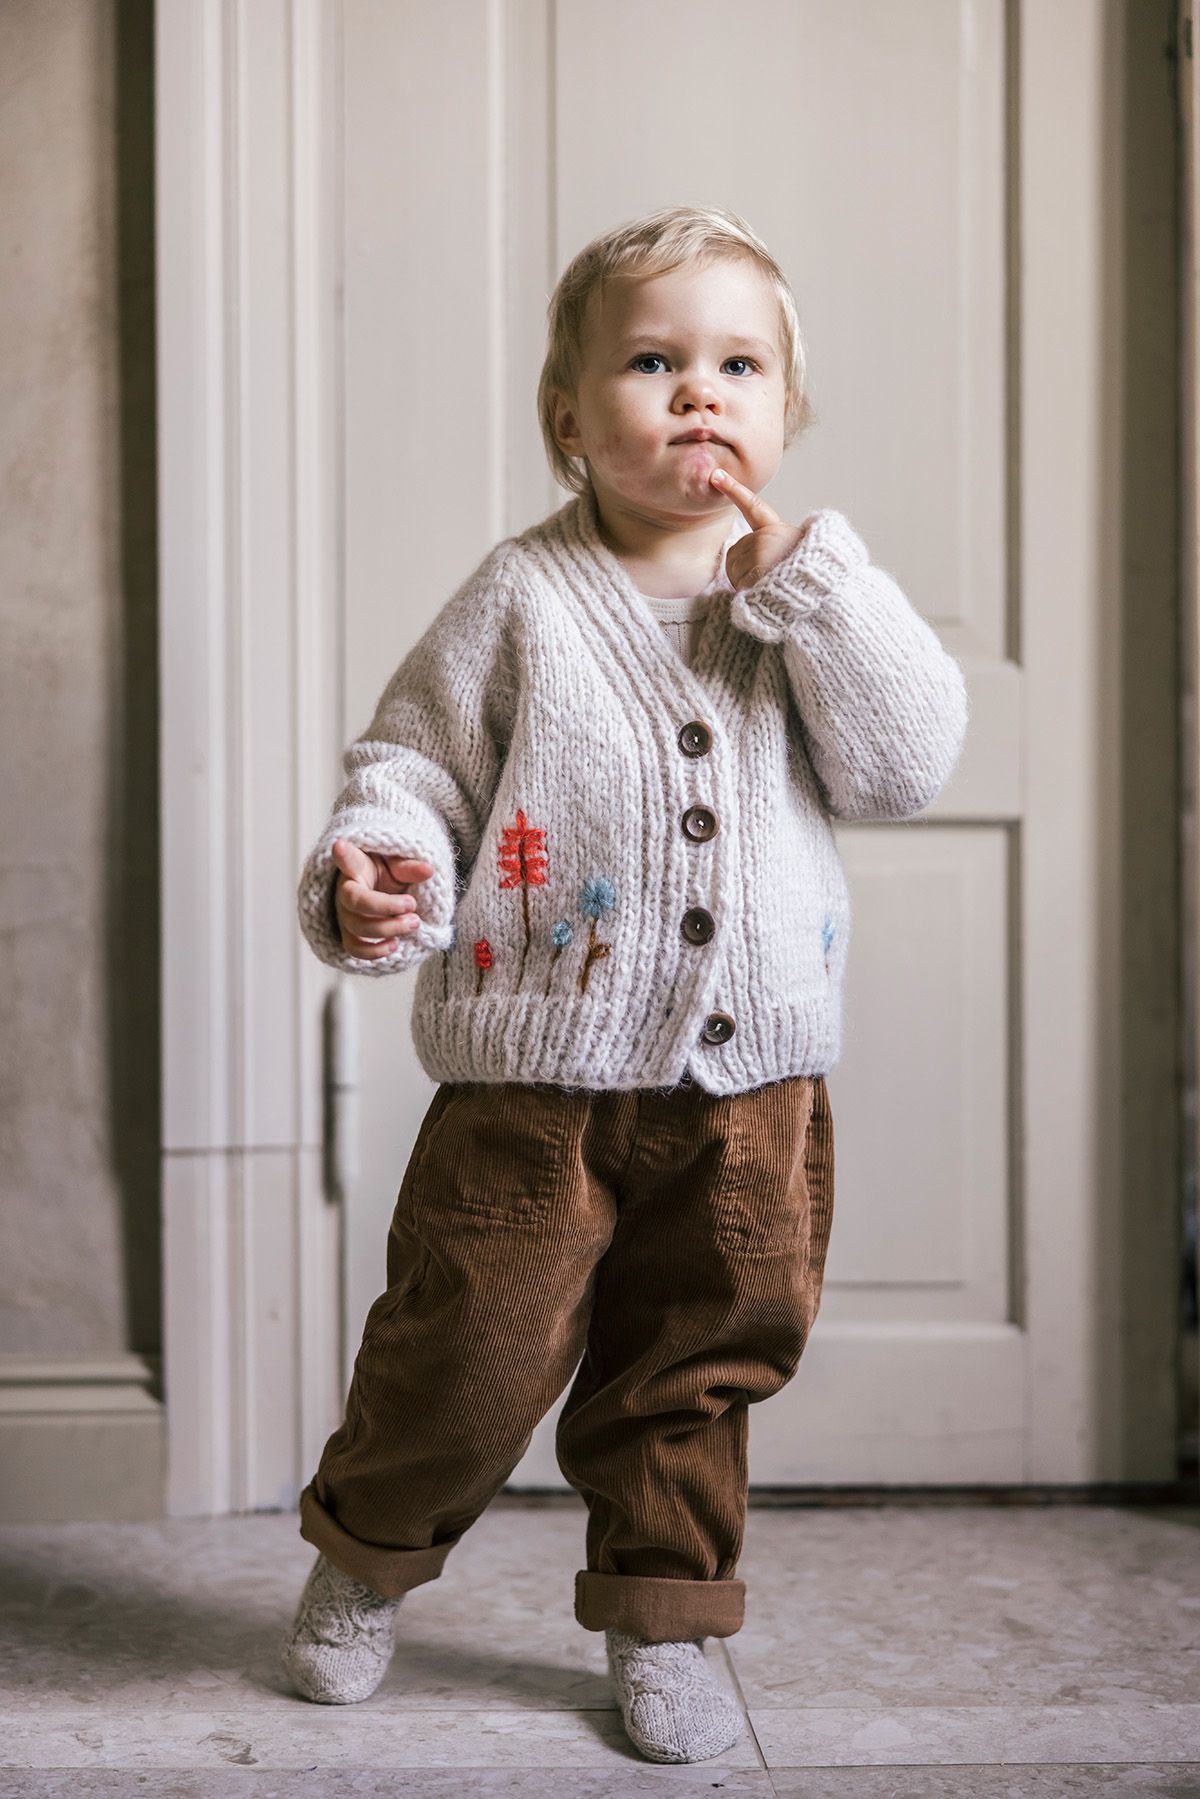
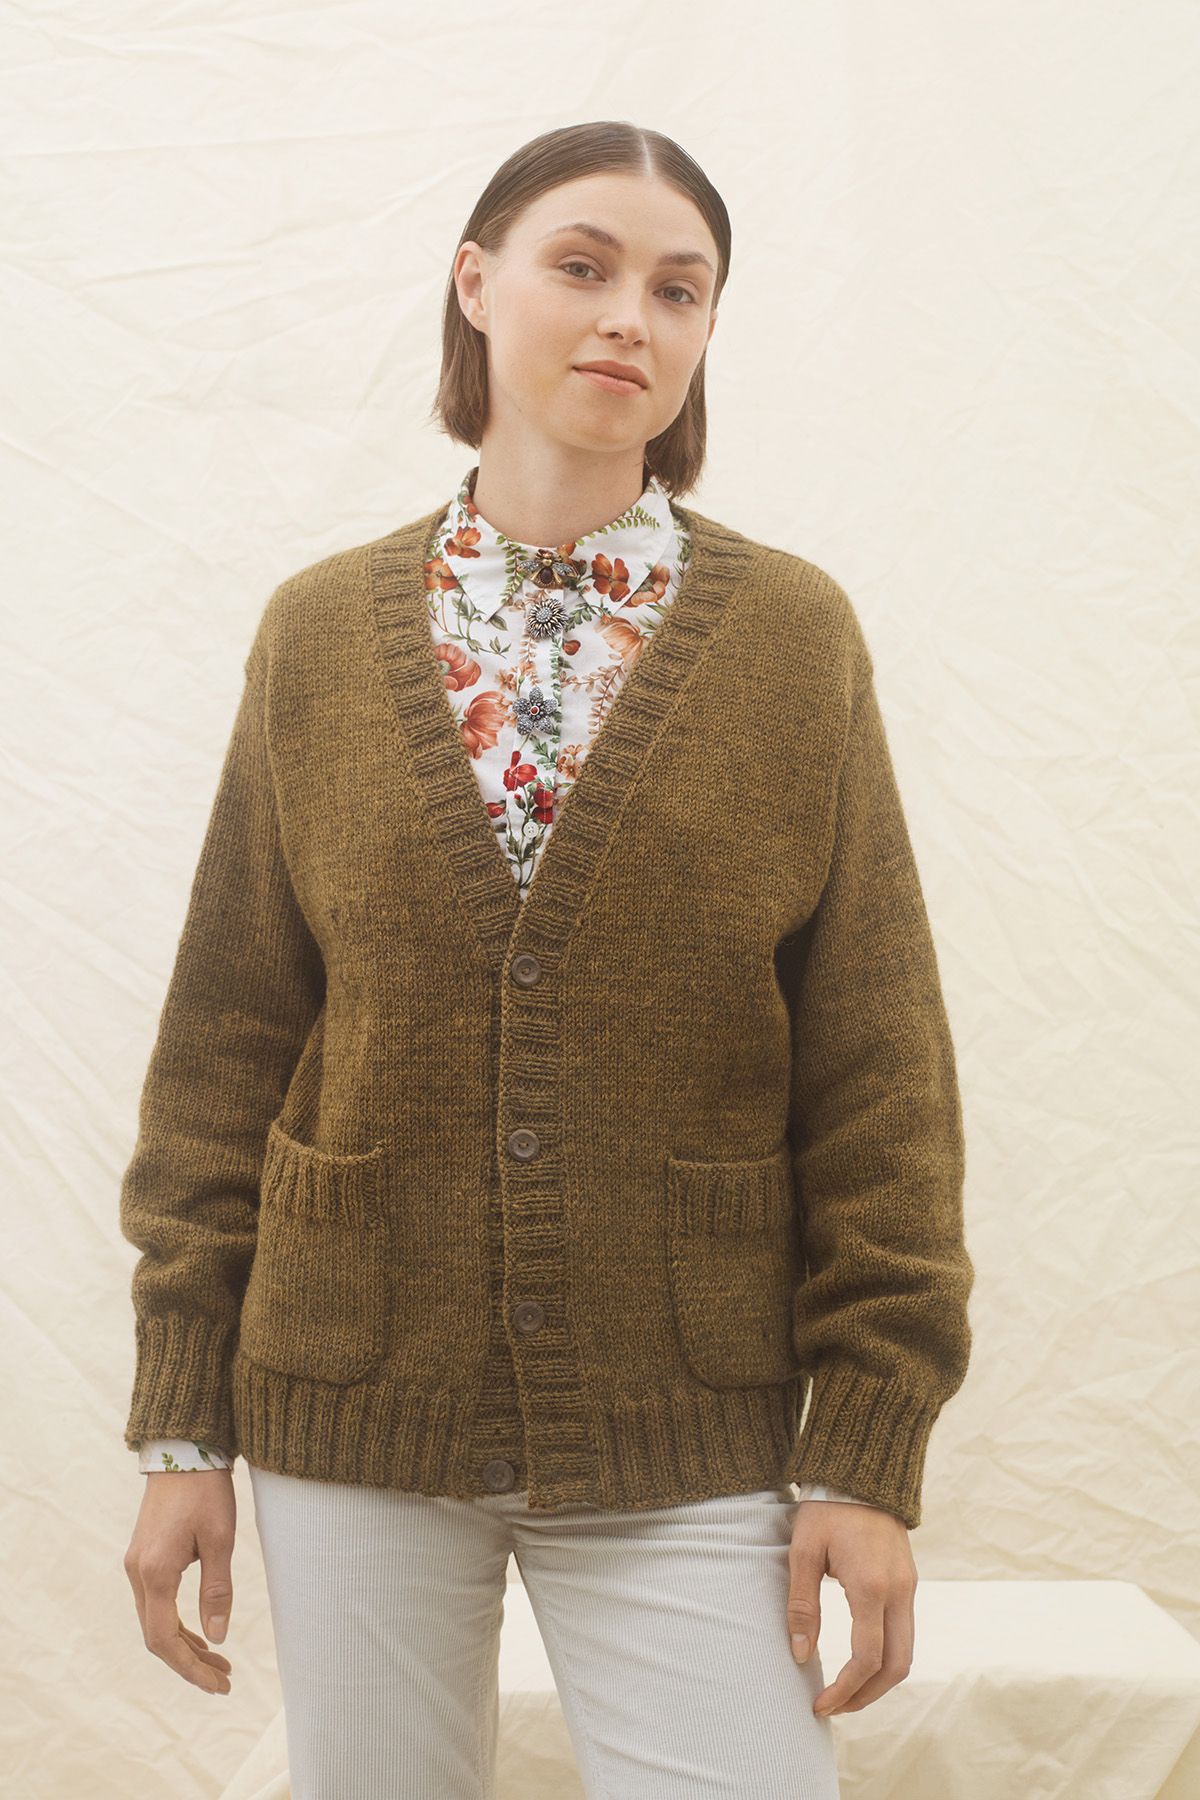
Novita Merino 4PLY: Freija-knitted cardigan
Have you ever seen a more beautiful yoke? The cute nubs complete the yoke pattern, reminiscent of feathers. The cardigan is worked top down, the button bands are worked using intarsia. The Novita Merino 4PLY yarn is made from sustainable European merino wool.
Designer
Minttu Wikberg
Size(s)
92/98(104/110)116/122(128/134)140/146 cm
Finished dimensions
Finished measurements:
Chest circumference: 68(72)76(80)84 cm / 26.8(28.4)29.9(31.5) 33.1”
Length mid front/mid back: 33(35)38(41)44 cm /13(13.8)15(16.1)17.3”
Underarm length: 26(29)31(34)36 cm / 10.2(11.4)12.2(13.4)14.2”
Yarn demand
Novita Merino 4ply (649) Chanterelle 100(100)150(150)200 g (006) Semolina 50(50)50(100)100 g
Needles and other supplies
Needles: Novita circular needles (60 cm / 24”) size 3 mm (US 2.5/UK 11) and 3.5 mm (US 4/UK 10 or 9) and for the sleeves Novita dpns size 3 mm (US 2.5/UK 11) and 3.5 mm (US 4/UK 10 or 9) or size needed to fit gauge Notions: 6 buttons
Finished dimensions
Finished measurements:
Chest circumference: 68(72)76(80)84 cm / 26.8(28.4)29.9(31.5) 33.1”
Length mid front/mid back: 33(35)38(41)44 cm /13(13.8)15(16.1)17.3”
Underarm length: 26(29)31(34)36 cm / 10.2(11.4)12.2(13.4)14.2”
Stitch patterns: Twisted ribbing in the round: *k1 tbl, p1, rep from *. Twisted ribbing worked flat: WS: *k1, p1 tbl, rep from * to end of row; RS: *k1 tbl, p1, rep from * to end of row. Stockinette stitch in the round: knit all sts. Stockinette stitch worked flat: knit the RS rows, purl the WS rows. Garter stitch worked flat: in RS and WS rows, knit all sts. Colorwork pattern: work in st st acc to instructions and chart. Intarsia button bands : Use a separate ball of yarn for each colored area and always twist the yarns of different colors together at the back of the work when changing colors, to avoid holes.
Gauge/Tension: 26 sts and 34 rows in st st, using the larger size ndls = 10 cm/4”
Note: The cardigan is worked top down, in one piece. The knitting direction is shown in the schematic drawing.
Yoke
CO 102(107)112(117)122 sts for neckline, using 3 mm (US 2.5/UK 11) size ndls and color Semolina. Work back and forth and always slip the first st of every row. Work the first and last 6 sts of every row in g st, work the 90(95)100(105)110 sts in between in twisted ribbing.
When work measures 1,5 cm / 0.6”, work a buttonhole at the end of the RS row, as follows: work in pattern to the last 6 sts, k2, k2tog, yo and k2. Rep these buttonholes as described, every 6(6,5)7(7,5)8 cm / 2.4(2.6)2.8(3)3.2” 5 more times. The top button will be 1.5 cm/5.9” from the top edge and the bottom button 1.5 cm/5.9” from the bottom edge.
Work twisted ribbing for 2.5 cm/1”, end with a RS row. Change to 3.5 mm (US 4/UK 10 or 9) .
Continue working the 6 sts of both button bands on each side of the work in g st, using the intarsia technique, in color Semolina, to end of work. Don’t forget to make the buttonholes. Work the sts in between the button bands as follows: purl 1 row, then continue working row 1 of colorwork pattern acc to chart. Work patt rep of 5 sts 18(19)20(21)22 times. Work rows 2-4 of chart. In row 5, increase 36(38)40(42)44 sts acc to chart, i.e. 2 sts in every patt rep = 138(145)152(159)166 sts. Note: If the colorwork pattern is worked tighter than when working single-colored st st, work the colorwork section using a larger size ndls (= 4 mm (US 6/UK 8)).
Work rows 6-19 of chart and at the same time, inc 36(38)40(42)44 sts in rows 9, 13 and 19, acc to chart, i.e. 2 sts in every patt rep. Work rows 20-33 of chart and at the same time, inc 18(19)20(21)22 sts in rows 23 and 33, acc to chart, but, for all sizes except for sizes 104/110 and 128/134, omit the inc in the last patt rep in row 33 = 282(296)312(326)342 sts. Mind the bobbles in row 31!
Continue working in st st in color Chanterelle and work the button bands in g st in color Semolina.
When yoke, from CO edge, measures 13(14)15(16)17 cm / 5.1(5.5)5.9(6.3)6.7”, divide work into 5 parts, as follows: 46(48)50(52)54 front-sts, 55(58)62(65)69 sleeve-sts, 80(84)88(92)96 back-sts, 55(58)62(65)69 sleeve-sts and 46(48)50(52)54 front-sts. Place markers between the parts and place the sleeve-sts on hold.
Front and back, lower part
Continue working in st st using color Chanterelle and work the button bands in g st using color Semolina. Note: Don’t forget to work the buttonholes. Work 46(48)50(52)54 front-sts, CO 5(6)6(7)7 new sts for armhole, work 80(84)88(92)96 back-sts, CO 5(6)6(7)7 new sts for second armhole and work the 46(48)50(52)54 sts of other half of front part = 182(192)200(210)218 sts.
When work, from armhole, measures 13(14)15(17)19 cm / 5.1(5.5)5.9(6.3)7.5”, change to smaller size ndls and continue working back and forth in twisted ribbing for 7(7)8(8)8 cm / 2.8(2.8)3.2(3.2)3.2”. BO all sts in pattern.
Sleeves
Place 55(58)62(65)69 sts of 1 sleeve back onto a set of dpns size 3.5 mm (US 4/UK 10 or 9). Continue working in st st using color Chanterelle and PUK a total of 7(8)8(9)9 sts from underarm CO edge. There are now 62(66)70(74)78 sleeve-sts. Distribute the sts evenly over the dpns and work 2 cm/0.8” in st st in the round. Beg of rnd is in the middle of the picked-up sts at the underarm CO edge.
In the next rnd, start decreasing for sleeve shaping, as follows: k1, k2tog, k to the last 3 sts, ssk, k1. Rep these dec’s every 3 cm/1.2” 4(5)6(7)8 more times = 52(54)56(58)60 sts.
When sleeve, from armhole, measures 21(24)25(28)30 cm / 8.3(9.5)9.8(11)11.8”, dec 8 sts evenly spaced in the next rnd = 44(46)48(50)52 sts.
Change to ndl size 3 mm (US 2.5/UK 11) and work twisted ribbing in the round for 5(5)6(6)6 cm / 2(2)2.4(2.4)2.4” and in the next rnd, BO all sts in pattern.
Work the second sleeve in the same way.
Finishing
Place the cardigan inside out onto a flat surface, dampen and leave to dry or lightly steam the cardigan. Sew buttons on and weave in all ends.
Abbreviations:
acc = according
beg = begin(ning)
BO = bind off
CO = cast on
dpn(s) = double pointed needle(s)
dec(‘s) = decrease(s)
g st = garter stitch
inc(‘s) = increase(s)
k = knit
k2tog = knit 2 sts together
M = marker
ndl(s) = needle(s)
p = purl
patt = pattern
PUK = pick up and knit
rep = repeat
rnd(s) = round(s)
ssk = slip 1 st knitwise, slip 1 st knitwise, move sts back onto left ndl, knit together through back loops
RS = right side
st(s) = stitch(es)
st st = stockinette st
tbl = through back loop
WS = wrong side
yo(‘s) = yarn over(s)
Translations chart and legend:
649 Pfifferling = 649 Chanterelle
1 M li, in Rückreihe 1 M re = p1, knit on WS row
nach rechts geneigte Zunahme: mit der linken Nadel den Querfaden zwischen zwei M von hinten aufnehmen und durch das vordere Maschenglied stricken.
=
Right leaning increase: using left needle tip, pick up the bar between the st on the left ndl and the st on the right ndl, from back to front, and knit this st into the front loop.
nach links geneigte Zunahme: mit der linken Nadel den Querfaden zwischen zwei
M von vorne aufnehmen und durch das hintere Maschenglied verschränkt stricken
=
Left leaning increase: using left needle tip, pick up the bar between the st on the left ndl and the st on the right ndl, from front to back, and knit this st into the back loop.
5 M-Noppe: 1. R.: in eine M 1 M re, Umschlag, 1 M re, Umschlag, 1 M re stricken
und dann erst die M von der linken Nadel fallen lassen, Arbeit wenden. 2. R.: 5 M li
stricken und Arbeit wenden. 3. R.: 5 M re stricken und Arbeit wenden. 4. R.: 5 M li
stricken und Arbeit wenden. 5. R.: 2 M ungestrickt abheben, 3 M re zusammen stricken,
die abgehobenen M über die zusammengestrickte M heben. Es bleibt 1 M übrig.
=
5 st-bobble: Row 1: work (k1, yo, k1, yo, k1) into 1 st, let st slide off the ndl, turn work. Row 2: p5 and turn work. Row 3: k5 and turn work. Row 4: p5 and turn work. Row 5: sl 1 purlwise, sl 1 purlwise, k3tog, pass the 2 slipped sts over. Only 1 st remains.
Strickrichtung = Knitting direction
Diagramm = Chart
Musterrapport wiederholt sich = Pattern repeat
Novita Merino 4PLY: Freija-knitted cardigan
Size(s)
92/98(104/110)116/122(128/134)140/146 cm
Finished dimensions
Finished measurements:
Chest circumference: 68(72)76(80)84 cm / 26.8(28.4)29.9(31.5) 33.1”
Length mid front/mid back: 33(35)38(41)44 cm /13(13.8)15(16.1)17.3”
Underarm length: 26(29)31(34)36 cm / 10.2(11.4)12.2(13.4)14.2”
Yarn demand
Novita Merino 4ply (649) Chanterelle 100(100)150(150)200 g (006) Semolina 50(50)50(100)100 g
Needles and other supplies
Needles: Novita circular needles (60 cm / 24”) size 3 mm (US 2.5/UK 11) and 3.5 mm (US 4/UK 10 or 9) and for the sleeves Novita dpns size 3 mm (US 2.5/UK 11) and 3.5 mm (US 4/UK 10 or 9) or size needed to fit gauge Notions: 6 buttons
Stitch patterns: Twisted ribbing in the round: *k1 tbl, p1, rep from *. Twisted ribbing worked flat: WS: *k1, p1 tbl, rep from * to end of row; RS: *k1 tbl, p1, rep from * to end of row. Stockinette stitch in the round: knit all sts. Stockinette stitch worked flat: knit the RS rows, purl the WS rows. Garter stitch worked flat: in RS and WS rows, knit all sts. Colorwork pattern: work in st st acc to instructions and chart. Intarsia button bands : Use a separate ball of yarn for each colored area and always twist the yarns of different colors together at the back of the work when changing colors, to avoid holes.
Gauge/Tension: 26 sts and 34 rows in st st, using the larger size ndls = 10 cm/4”
Note: The cardigan is worked top down, in one piece. The knitting direction is shown in the schematic drawing.
Yoke
CO 102(107)112(117)122 sts for neckline, using 3 mm (US 2.5/UK 11) size ndls and color Semolina. Work back and forth and always slip the first st of every row. Work the first and last 6 sts of every row in g st, work the 90(95)100(105)110 sts in between in twisted ribbing.
When work measures 1,5 cm / 0.6”, work a buttonhole at the end of the RS row, as follows: work in pattern to the last 6 sts, k2, k2tog, yo and k2. Rep these buttonholes as described, every 6(6,5)7(7,5)8 cm / 2.4(2.6)2.8(3)3.2” 5 more times. The top button will be 1.5 cm/5.9” from the top edge and the bottom button 1.5 cm/5.9” from the bottom edge.
Work twisted ribbing for 2.5 cm/1”, end with a RS row. Change to 3.5 mm (US 4/UK 10 or 9) .
Continue working the 6 sts of both button bands on each side of the work in g st, using the intarsia technique, in color Semolina, to end of work. Don’t forget to make the buttonholes. Work the sts in between the button bands as follows: purl 1 row, then continue working row 1 of colorwork pattern acc to chart. Work patt rep of 5 sts 18(19)20(21)22 times. Work rows 2-4 of chart. In row 5, increase 36(38)40(42)44 sts acc to chart, i.e. 2 sts in every patt rep = 138(145)152(159)166 sts. Note: If the colorwork pattern is worked tighter than when working single-colored st st, work the colorwork section using a larger size ndls (= 4 mm (US 6/UK 8)).
Work rows 6-19 of chart and at the same time, inc 36(38)40(42)44 sts in rows 9, 13 and 19, acc to chart, i.e. 2 sts in every patt rep. Work rows 20-33 of chart and at the same time, inc 18(19)20(21)22 sts in rows 23 and 33, acc to chart, but, for all sizes except for sizes 104/110 and 128/134, omit the inc in the last patt rep in row 33 = 282(296)312(326)342 sts. Mind the bobbles in row 31!
Continue working in st st in color Chanterelle and work the button bands in g st in color Semolina.
When yoke, from CO edge, measures 13(14)15(16)17 cm / 5.1(5.5)5.9(6.3)6.7”, divide work into 5 parts, as follows: 46(48)50(52)54 front-sts, 55(58)62(65)69 sleeve-sts, 80(84)88(92)96 back-sts, 55(58)62(65)69 sleeve-sts and 46(48)50(52)54 front-sts. Place markers between the parts and place the sleeve-sts on hold.
Front and back, lower part
Continue working in st st using color Chanterelle and work the button bands in g st using color Semolina. Note: Don’t forget to work the buttonholes. Work 46(48)50(52)54 front-sts, CO 5(6)6(7)7 new sts for armhole, work 80(84)88(92)96 back-sts, CO 5(6)6(7)7 new sts for second armhole and work the 46(48)50(52)54 sts of other half of front part = 182(192)200(210)218 sts.
When work, from armhole, measures 13(14)15(17)19 cm / 5.1(5.5)5.9(6.3)7.5”, change to smaller size ndls and continue working back and forth in twisted ribbing for 7(7)8(8)8 cm / 2.8(2.8)3.2(3.2)3.2”. BO all sts in pattern.
Sleeves
Place 55(58)62(65)69 sts of 1 sleeve back onto a set of dpns size 3.5 mm (US 4/UK 10 or 9). Continue working in st st using color Chanterelle and PUK a total of 7(8)8(9)9 sts from underarm CO edge. There are now 62(66)70(74)78 sleeve-sts. Distribute the sts evenly over the dpns and work 2 cm/0.8” in st st in the round. Beg of rnd is in the middle of the picked-up sts at the underarm CO edge.
In the next rnd, start decreasing for sleeve shaping, as follows: k1, k2tog, k to the last 3 sts, ssk, k1. Rep these dec’s every 3 cm/1.2” 4(5)6(7)8 more times = 52(54)56(58)60 sts.
When sleeve, from armhole, measures 21(24)25(28)30 cm / 8.3(9.5)9.8(11)11.8”, dec 8 sts evenly spaced in the next rnd = 44(46)48(50)52 sts.
Change to ndl size 3 mm (US 2.5/UK 11) and work twisted ribbing in the round for 5(5)6(6)6 cm / 2(2)2.4(2.4)2.4” and in the next rnd, BO all sts in pattern.
Work the second sleeve in the same way.
Finishing
Place the cardigan inside out onto a flat surface, dampen and leave to dry or lightly steam the cardigan. Sew buttons on and weave in all ends.
Abbreviations:
acc = according
beg = begin(ning)
BO = bind off
CO = cast on
dpn(s) = double pointed needle(s)
dec(‘s) = decrease(s)
g st = garter stitch
inc(‘s) = increase(s)
k = knit
k2tog = knit 2 sts together
M = marker
ndl(s) = needle(s)
p = purl
patt = pattern
PUK = pick up and knit
rep = repeat
rnd(s) = round(s)
ssk = slip 1 st knitwise, slip 1 st knitwise, move sts back onto left ndl, knit together through back loops
RS = right side
st(s) = stitch(es)
st st = stockinette st
tbl = through back loop
WS = wrong side
yo(‘s) = yarn over(s)
Translations chart and legend:
649 Pfifferling = 649 Chanterelle
1 M li, in Rückreihe 1 M re = p1, knit on WS row
nach rechts geneigte Zunahme: mit der linken Nadel den Querfaden zwischen zwei M von hinten aufnehmen und durch das vordere Maschenglied stricken.
=
Right leaning increase: using left needle tip, pick up the bar between the st on the left ndl and the st on the right ndl, from back to front, and knit this st into the front loop.
nach links geneigte Zunahme: mit der linken Nadel den Querfaden zwischen zwei
M von vorne aufnehmen und durch das hintere Maschenglied verschränkt stricken
=
Left leaning increase: using left needle tip, pick up the bar between the st on the left ndl and the st on the right ndl, from front to back, and knit this st into the back loop.
5 M-Noppe: 1. R.: in eine M 1 M re, Umschlag, 1 M re, Umschlag, 1 M re stricken
und dann erst die M von der linken Nadel fallen lassen, Arbeit wenden. 2. R.: 5 M li
stricken und Arbeit wenden. 3. R.: 5 M re stricken und Arbeit wenden. 4. R.: 5 M li
stricken und Arbeit wenden. 5. R.: 2 M ungestrickt abheben, 3 M re zusammen stricken,
die abgehobenen M über die zusammengestrickte M heben. Es bleibt 1 M übrig.
=
5 st-bobble: Row 1: work (k1, yo, k1, yo, k1) into 1 st, let st slide off the ndl, turn work. Row 2: p5 and turn work. Row 3: k5 and turn work. Row 4: p5 and turn work. Row 5: sl 1 purlwise, sl 1 purlwise, k3tog, pass the 2 slipped sts over. Only 1 st remains.
Strickrichtung = Knitting direction
Diagramm = Chart
Musterrapport wiederholt sich = Pattern repeat


